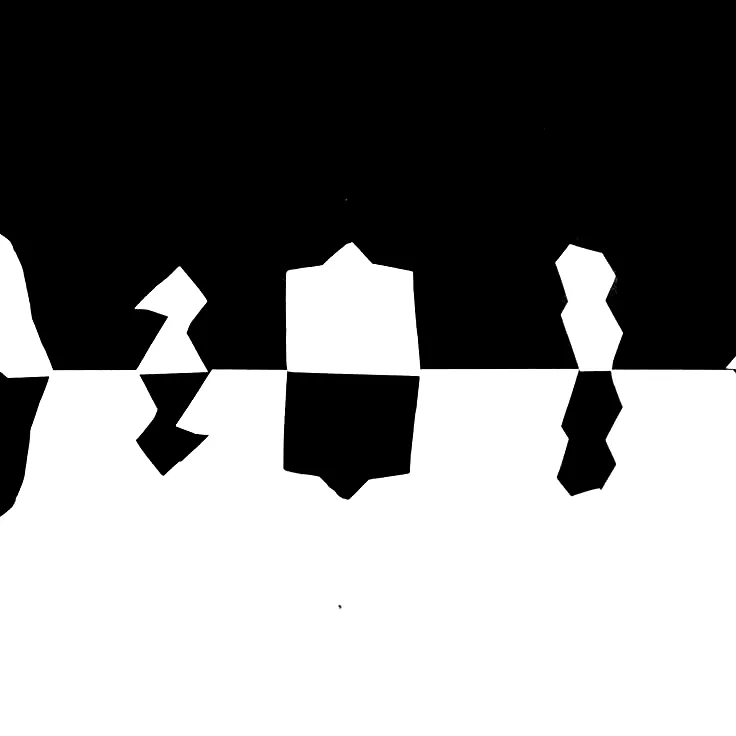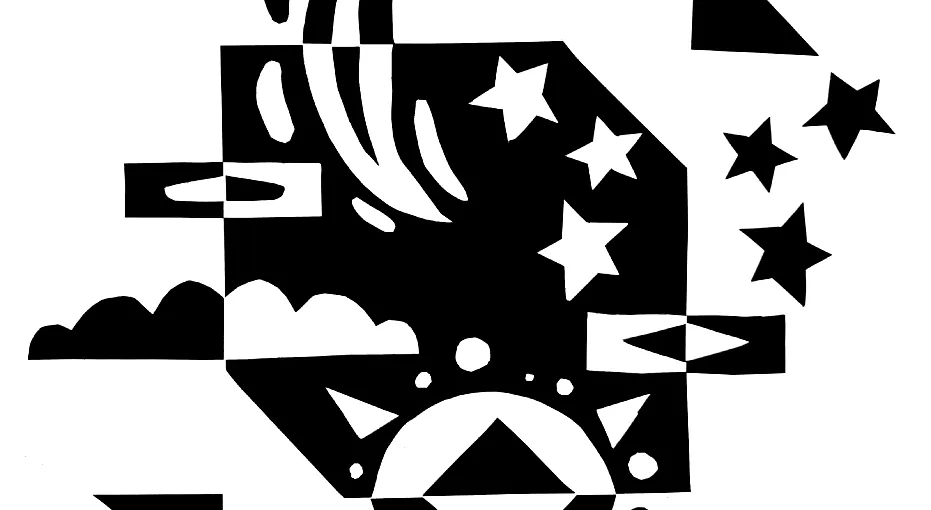
Notan Cutouts
Motivation
When we look at a drawing or a photograph, our eyes naturally jump straight to the main subject. But great artists know a secret: the background matters just as much as the object itself.
In art, we call the main subject the positive space and the empty area around it the negative space. Developing a sharp sensitivity to the relationship between the two is a fundamental step in mastering strong visual composition. If the background is ignored, a picture can easily feel cramped, cluttered, or entirely unbalanced.
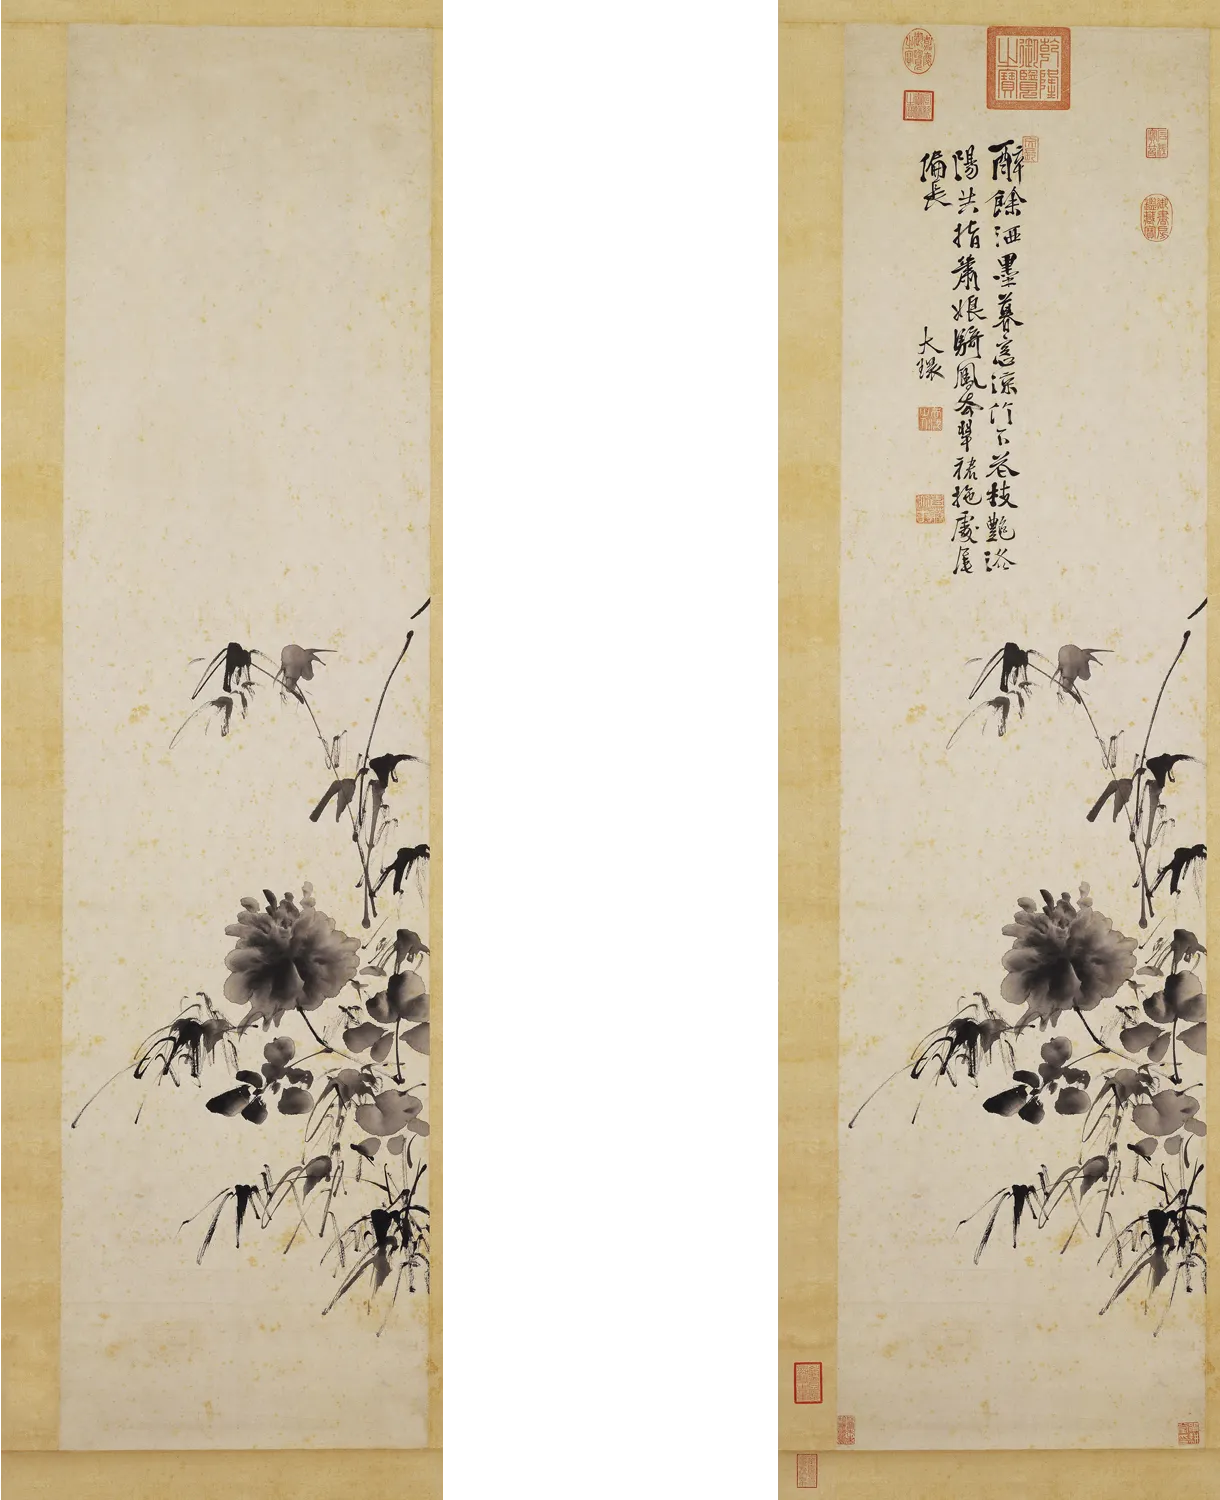
Peonies (牡丹), Xu Wei (徐渭, 1521–1593), Ming dynasty (1368–1644)In this activity, we will explore this relationship using Notan, a traditional Japanese design concept that literally translates to “light-dark balance.”
By using stark, contrasting colored paper, light and dark act as a direct proxy for positive and negative space. The challenge of Notan forces us to stop thinking about things as just “objects” or “shapes,” and instead view them as an interconnected puzzle where changing the positive space instantly transforms the negative space.
Materials
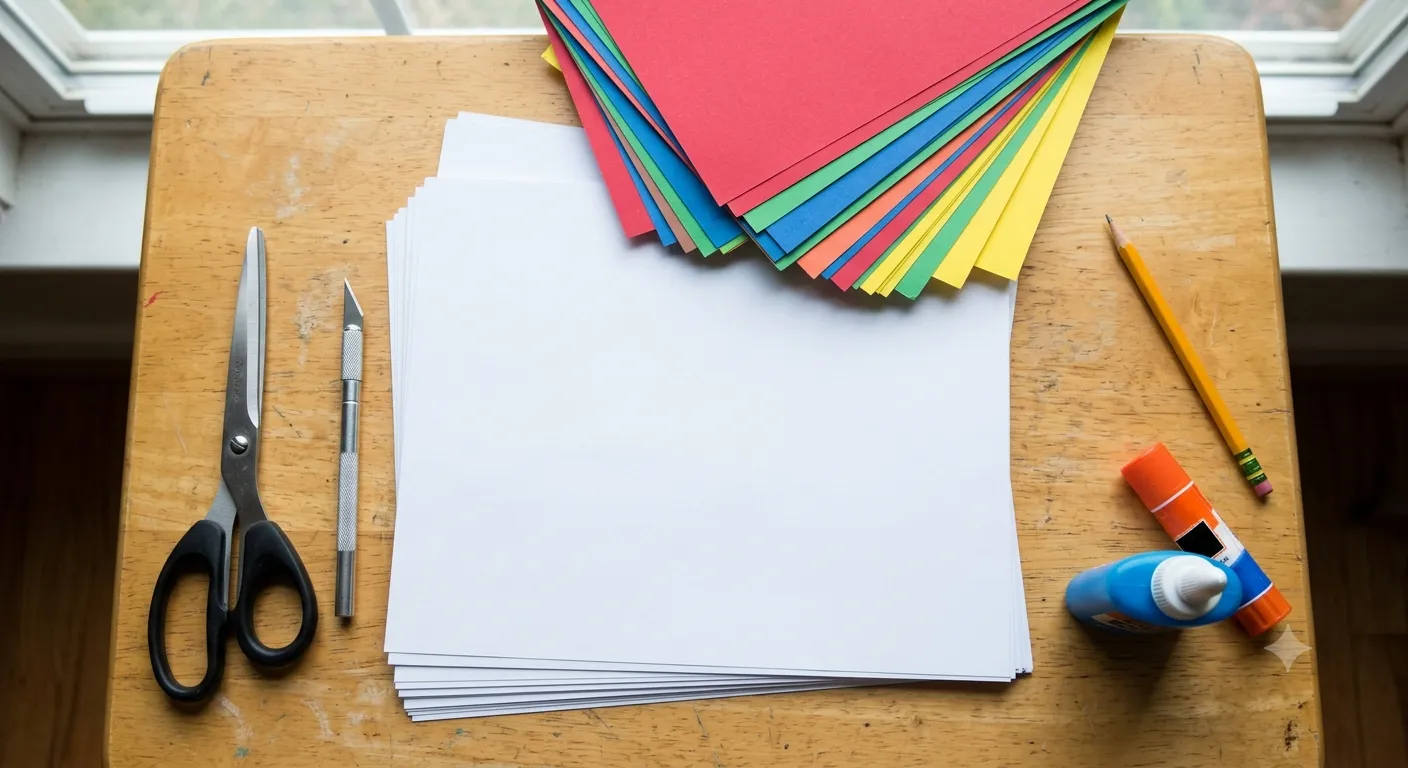
- Scissors
- Craft Knife
- Colored Paper
- White Paper
- Glue
- Pencil
Directions
- Prepare the Base: Place a large sheet of white paper on your desk to act as your background frame.
- Glue the Guide (Optional): Take a smaller square of dark or colored paper (usually 4x4 or 5x5 inches). Do not glue it down yet!
- Draw the Shapes: Use a pencil to draw shapes along the outer edges of the dark square.
The Golden Rule: Every line must start on an edge and end on that same edge. Do not cross your lines, and do not cut off the corners of the square.
- Cut with Precision: Carefully cut along your pencil lines using scissors or a craft knife. Keep every single piece. Every single piece must be used!
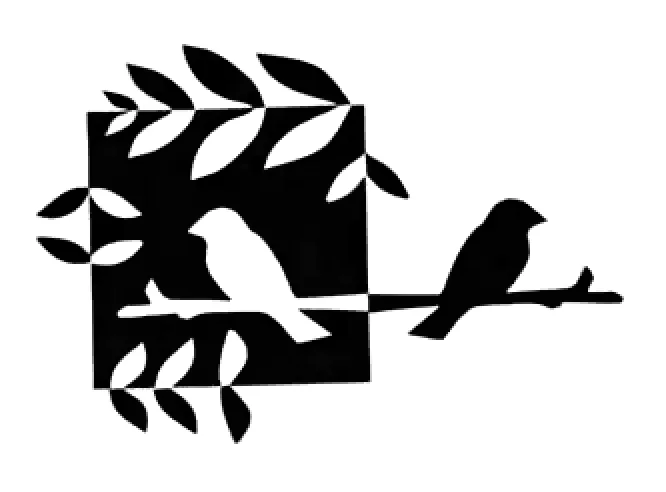
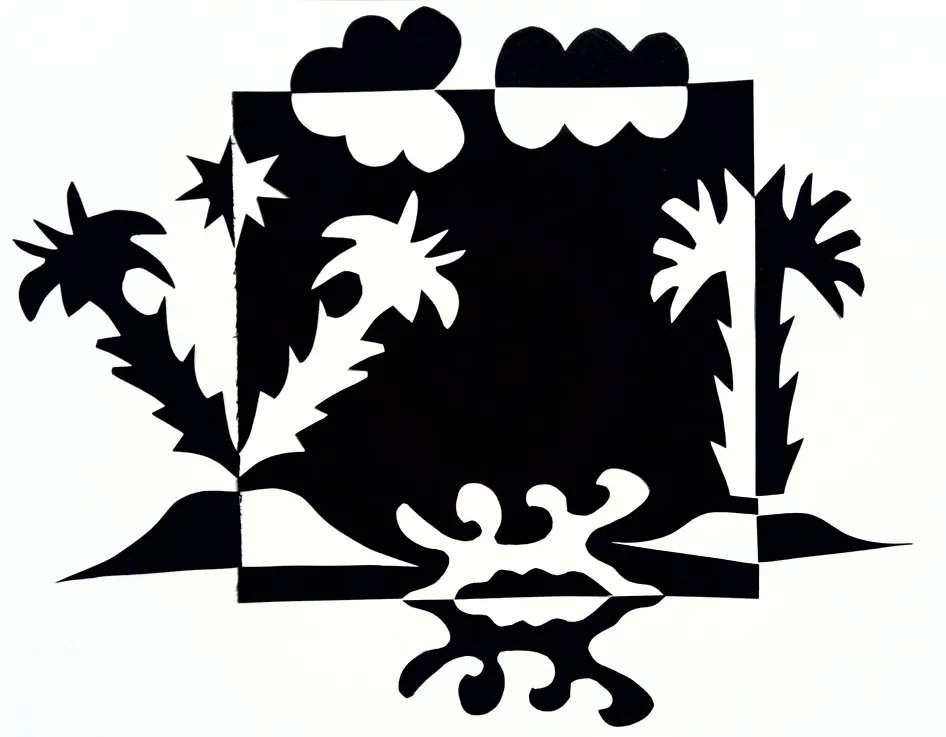
- The Hinge Flip: Place the central dark square in the middle of your white background. Take your cut-out pieces, put them back into their original “slots,” and then flip them outward over the edge, like a mirror image.
- Secure the Design: Once everything looks perfectly mirrored, glue the central square down first, preferrably with the pencil drawings facing down. Next, glue your flipped outer pieces.
Common Problems
- The “Lost Hinge” (Rotation): Students often lift a piece up, spin it around, or move it to a completely different side of the square. Keep the piece anchored to the exact edge it was cut from.
- Cutting the Corners: If a student cuts directly through a corner, the original square loses its boundary shape, making it difficult to align the final flip. Keep cuts strictly on the flat sides. The structure of the composition becomes less recognizable.
- Over-complication (Tiny Pieces): Intricate, tiny details look great in theory but are easily lost or ruined by heavy glue sticks. Focus on using 3 to 5 strong, clean geometric or organic shapes.
- Glue Smudges: Pressing down small, delicate paper cuts with sticky fingers can leave messy glue tracks across the clean white background.
Tip: Apply the glue with a separate piece of card or thick paper instead of applying the glue directly from the glue bottle. Spread the glue evenly with the card before attaching your design.
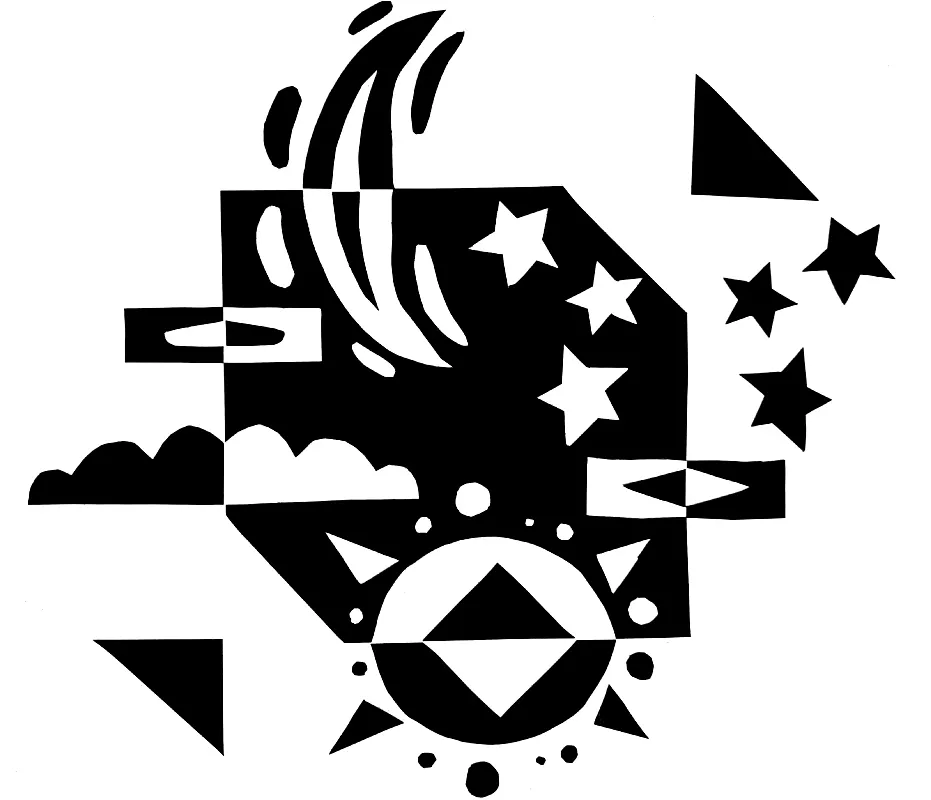
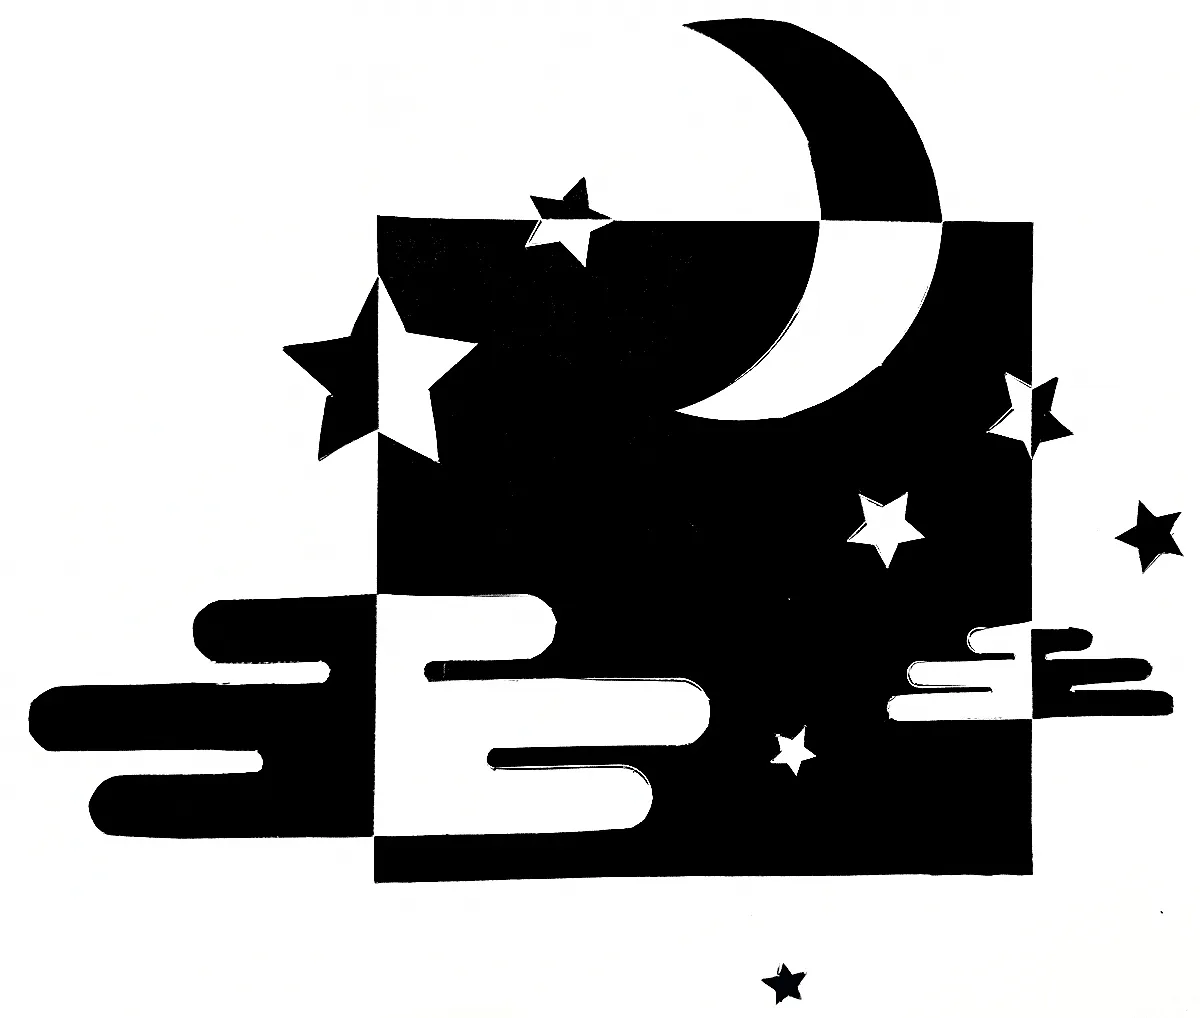
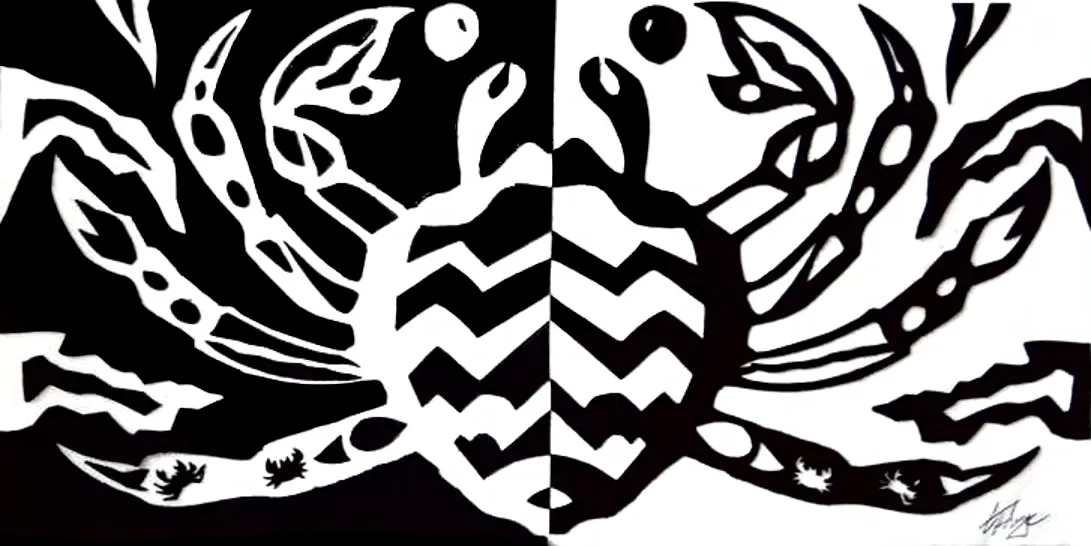
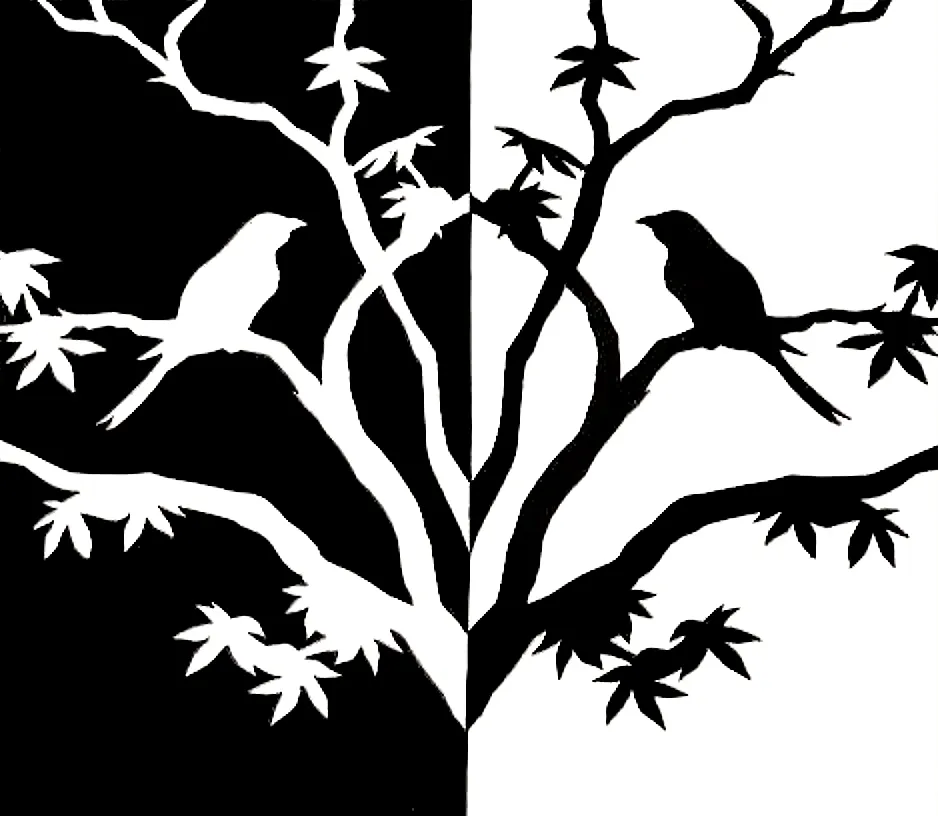
Examples
Poor Examples