Papier Mache
🗞️ Paper Mâché: Origins & Functions
1. What is Paper Mâché?
- The name “Papier-Mâché” comes from French.
- It means “Chewed Paper”!
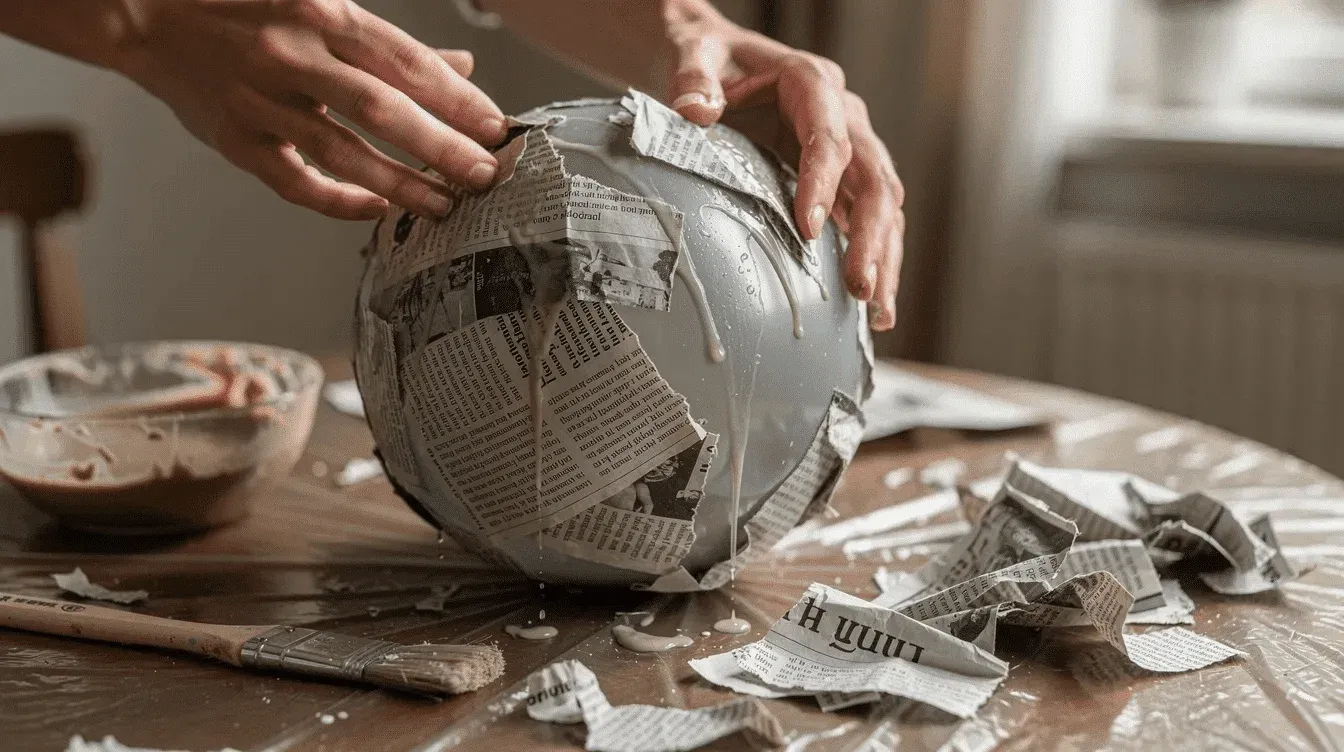
- It is made by mixing paper strips or pulp with glue or paste.
- When wet paper dries, it becomes hard, stiff, and strong.
2. Born in Ancient China
- Paper was invented in China over 2,000 years ago during the Han Dynasty.
- China was also the first country to create paper mâché!
What did they make?
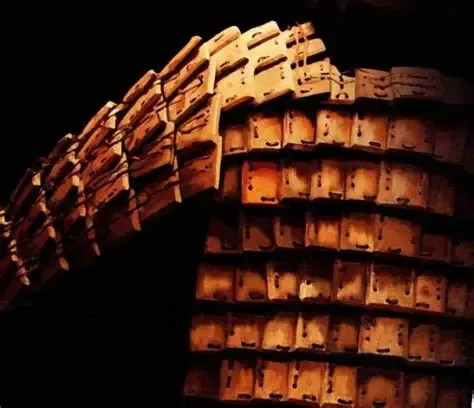
- 🪖 Helmets & Armor: Tough, protective gear that was surprisingly light!
- 🎭 Ceremonial Masks: Colorful masks worn during rituals and celebrations.
- 🥣 Decorative Bowls: Coated with lacquer to hold liquids.
3. Traveling the Silk Road to Europe
- Paper mâché traveled along trade routes to Japan, India, and Persia.
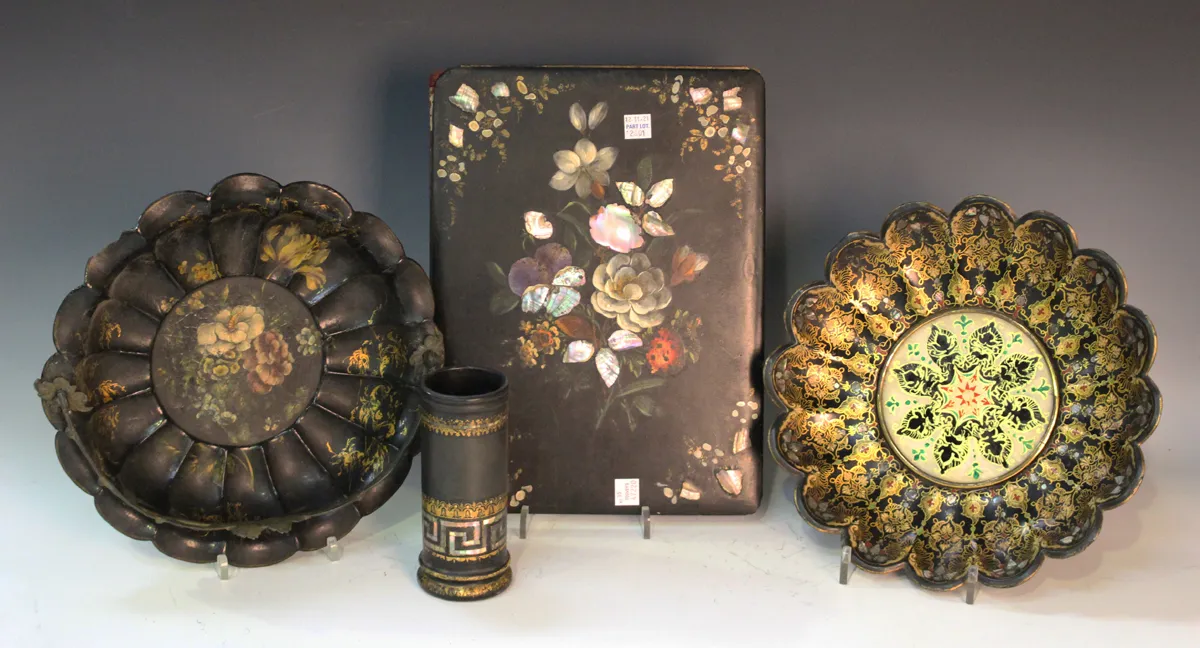
- By the 1700s, it arrived in Europe (France & England).
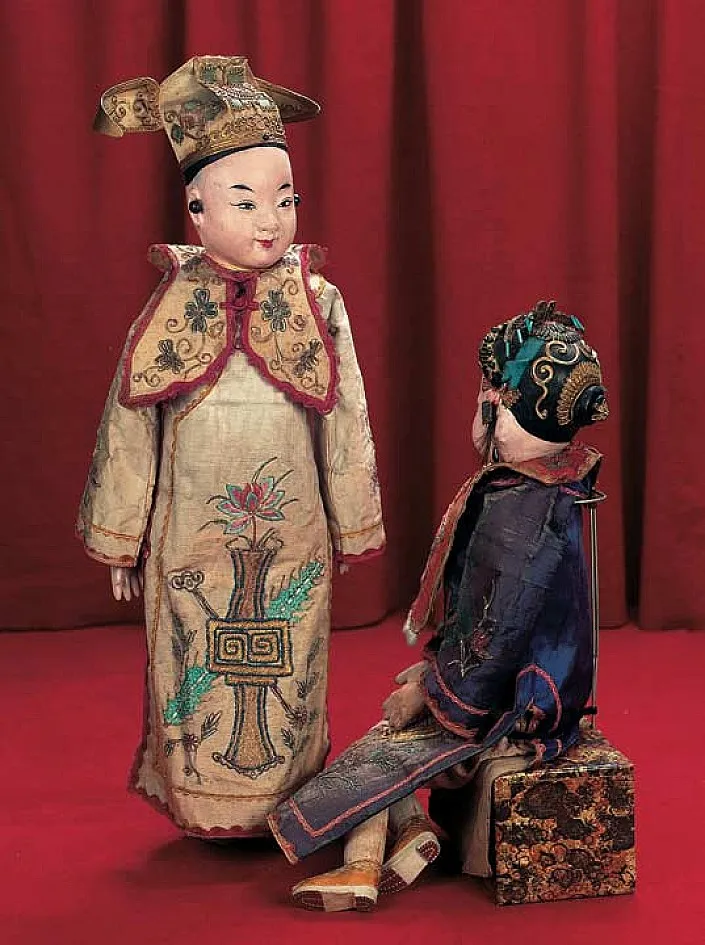
- European artisans used it to build lightweight furniture, trays, snuffboxes, and doll heads.
💡 Fun Fact: In the 1800s, an English maker even built an entire paper mâché church that could hold 1,000 people!
4. Paper Mâché Around the World Today
Today, paper mâché is used in famous festivals across the globe:
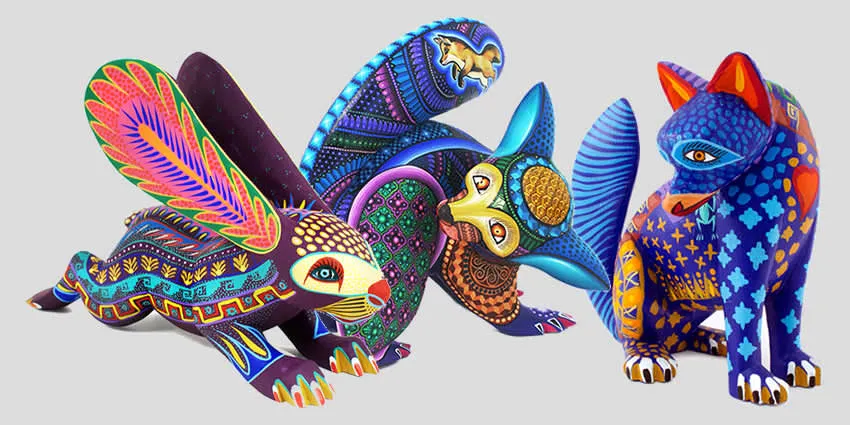
- 🇲🇽 Mexico: Colorful Piñatas and mythical Alebrijes (spirit animals).
- 🇯🇵 Japan: Hollow red Daruma Dolls used for goal-setting and luck.
- 🇮🇹 Italy: Giant Carnival Floats paraded through city streets.
🛠️ Paper Mâché: The Execution 5 Vocabulary
Mastering these 5 technical terms will help you build a smooth, rock-hard 3D sculpture that never collapses!
1. Armature (noun)
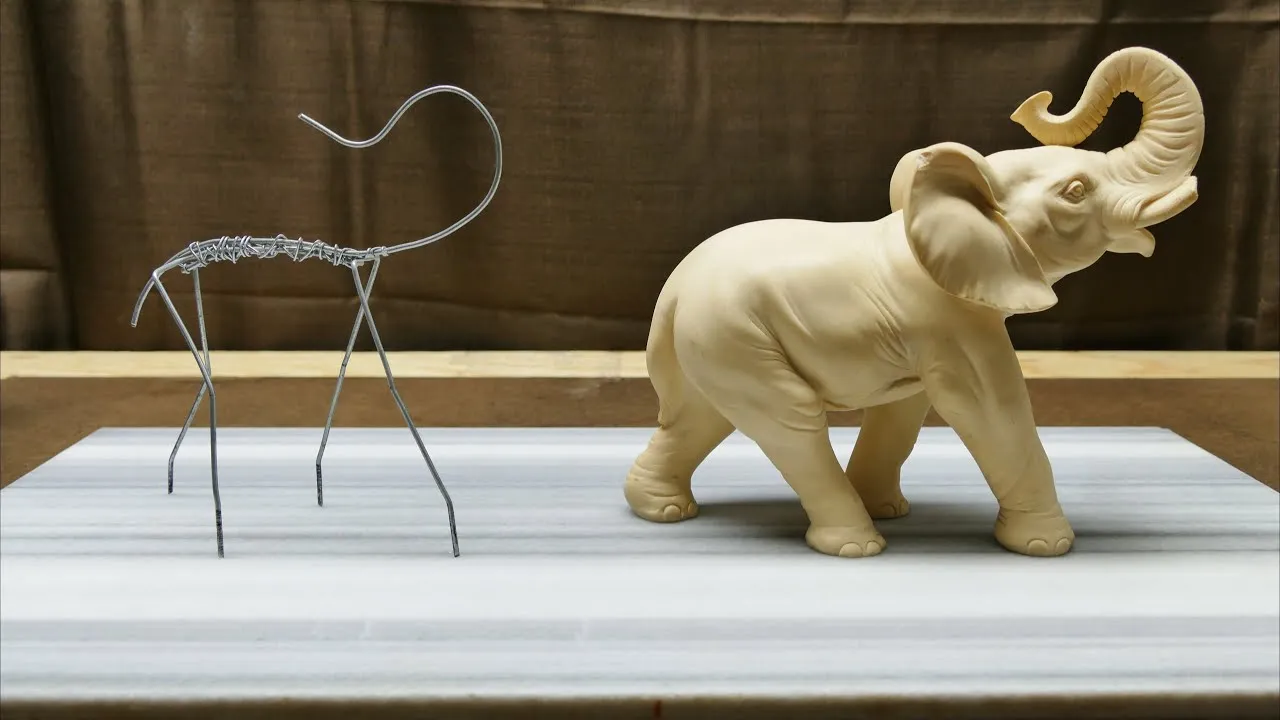
- Definition: The rigid inner skeleton or frame that holds up a 3D sculpture and gives it its shape.
- Why it matters: Papier-mâché needs a strong foundation. If your armature is weak or floppy, the wet paper will cause your entire sculpture to collapse.
- Studio Goal: Tape your paper hoop or cardboard base tightly before applying any glue.
2. Saturate (verb)
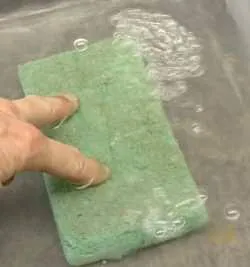
- Definition: To soak a paper strip completely so liquid penetrates all the fibers, without leaving dripping puddles.
- Why it matters: Dry spots inside a paper strip will trap air, causing ugly bubbles and weak spots that peel off later.
- Studio Goal: Dip your strip completely into the glue, then use the “two-finger squeegee” motion to wipe away excess paste.
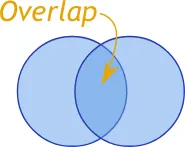
3. Overlap (verb)
- Definition: Laying one paper strip partially over the edge of another strip like shingles on a roof.
- Why it matters: Leaving gaps between strips creates fragile seams. Overlapping locks the paper fibers together into a single, unbreakable shell.
- Studio Goal: Overlap every new paper strip by about 50% over the previous one.
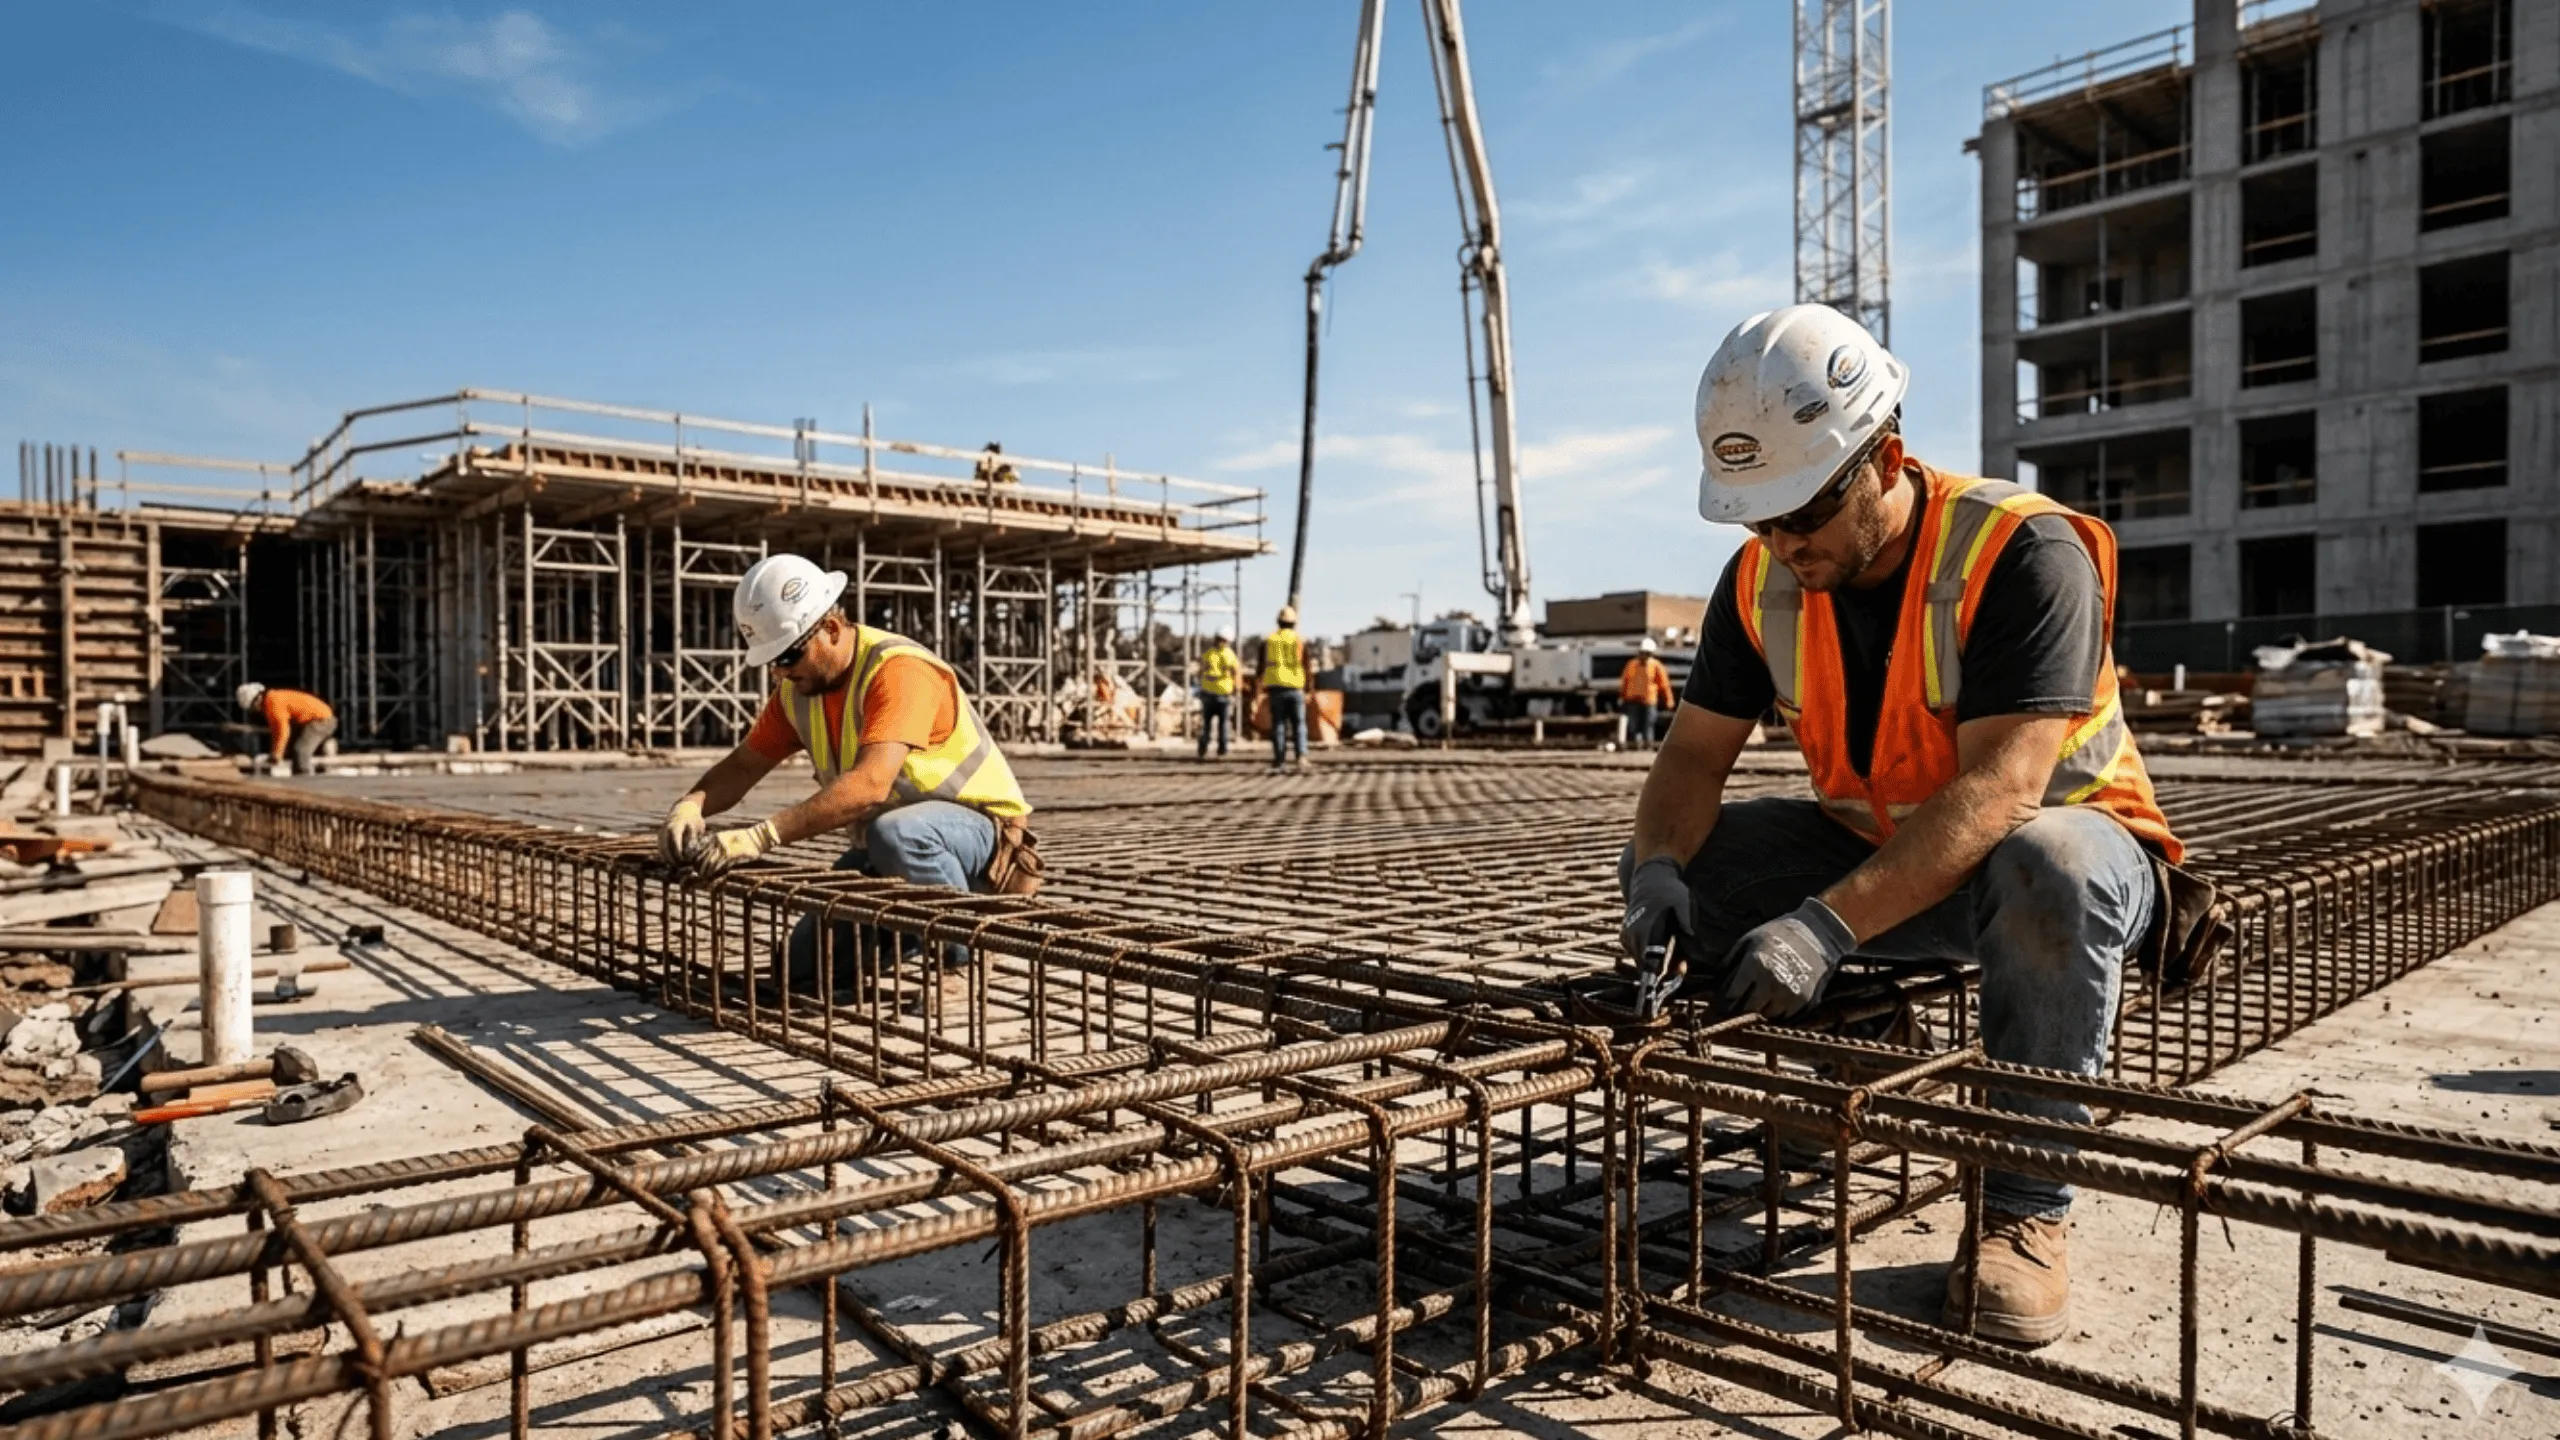
4. Reinforce (verb)
- Definition: To add extra layers or crisscross strips to strengthen weak areas.
- Why it matters: Joints, seams, and thin curves take the most physical stress and will crack or bend if they aren’t reinforced.
- Studio Goal: Add 2–3 extra crisscrossed layers over any connection points or flexible areas.
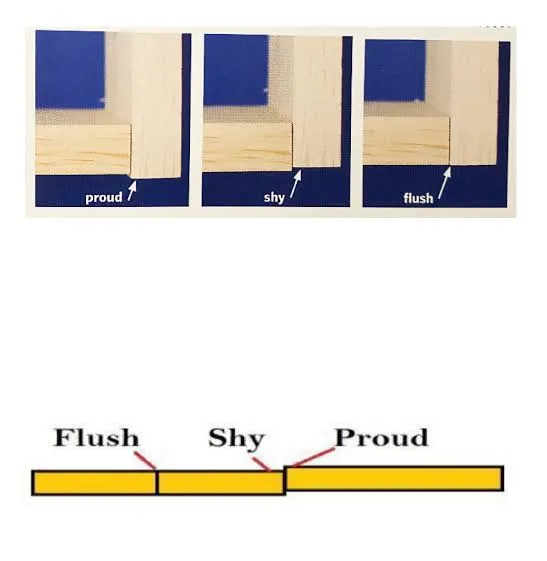
5. Flush (adjective / adverb)
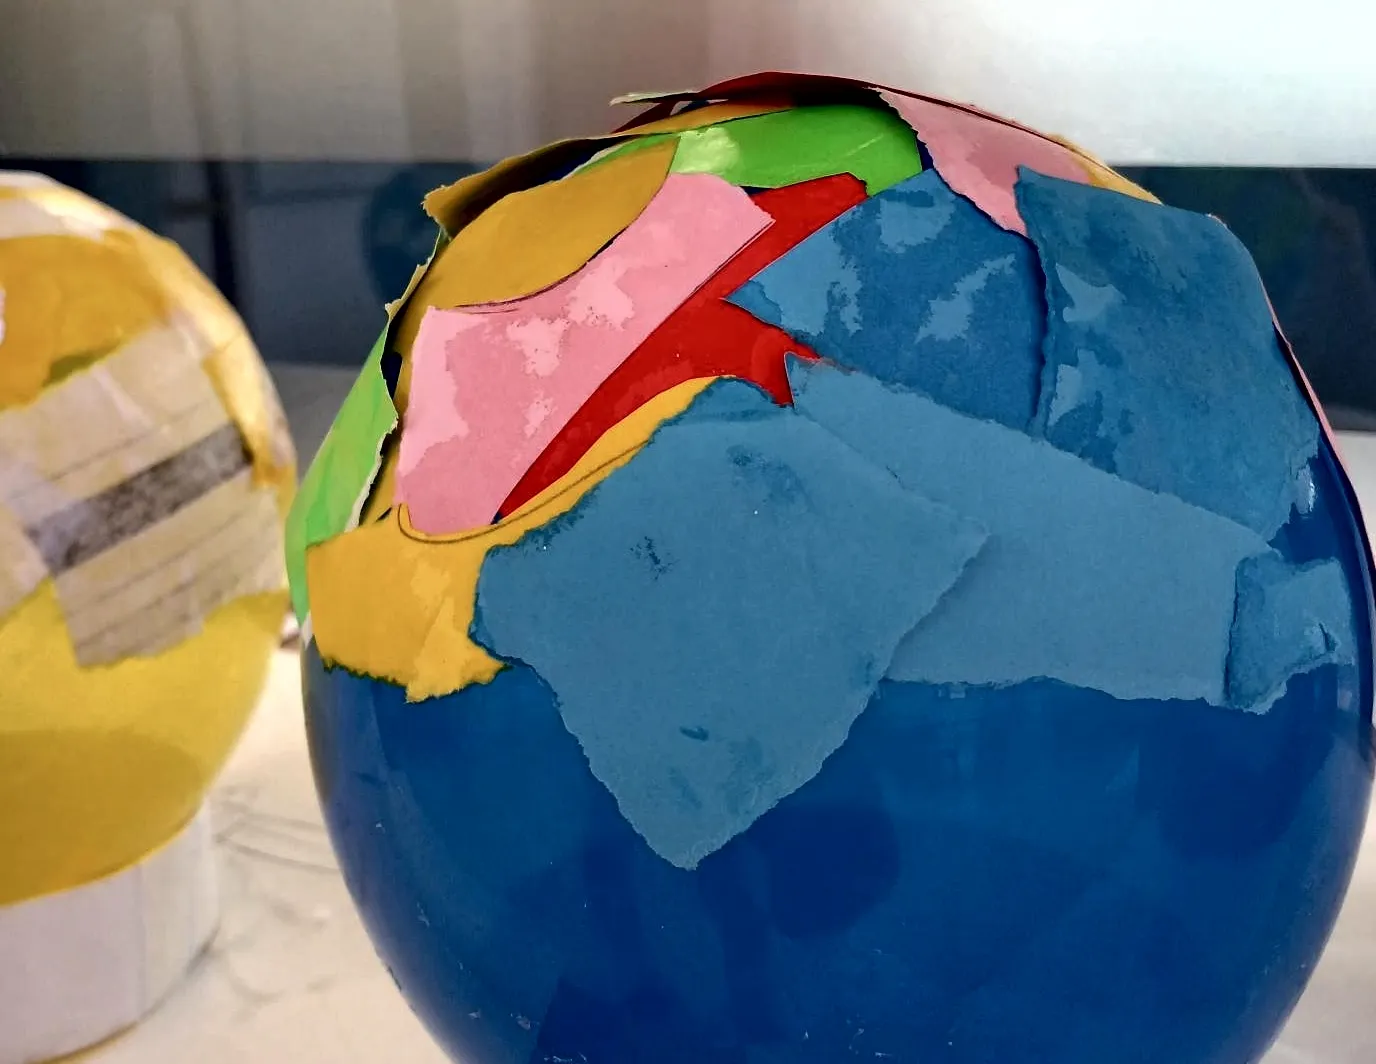
- Definition: Smoothly aligned and flat against the surface, leaving no raised edges, wrinkles, or air gaps.
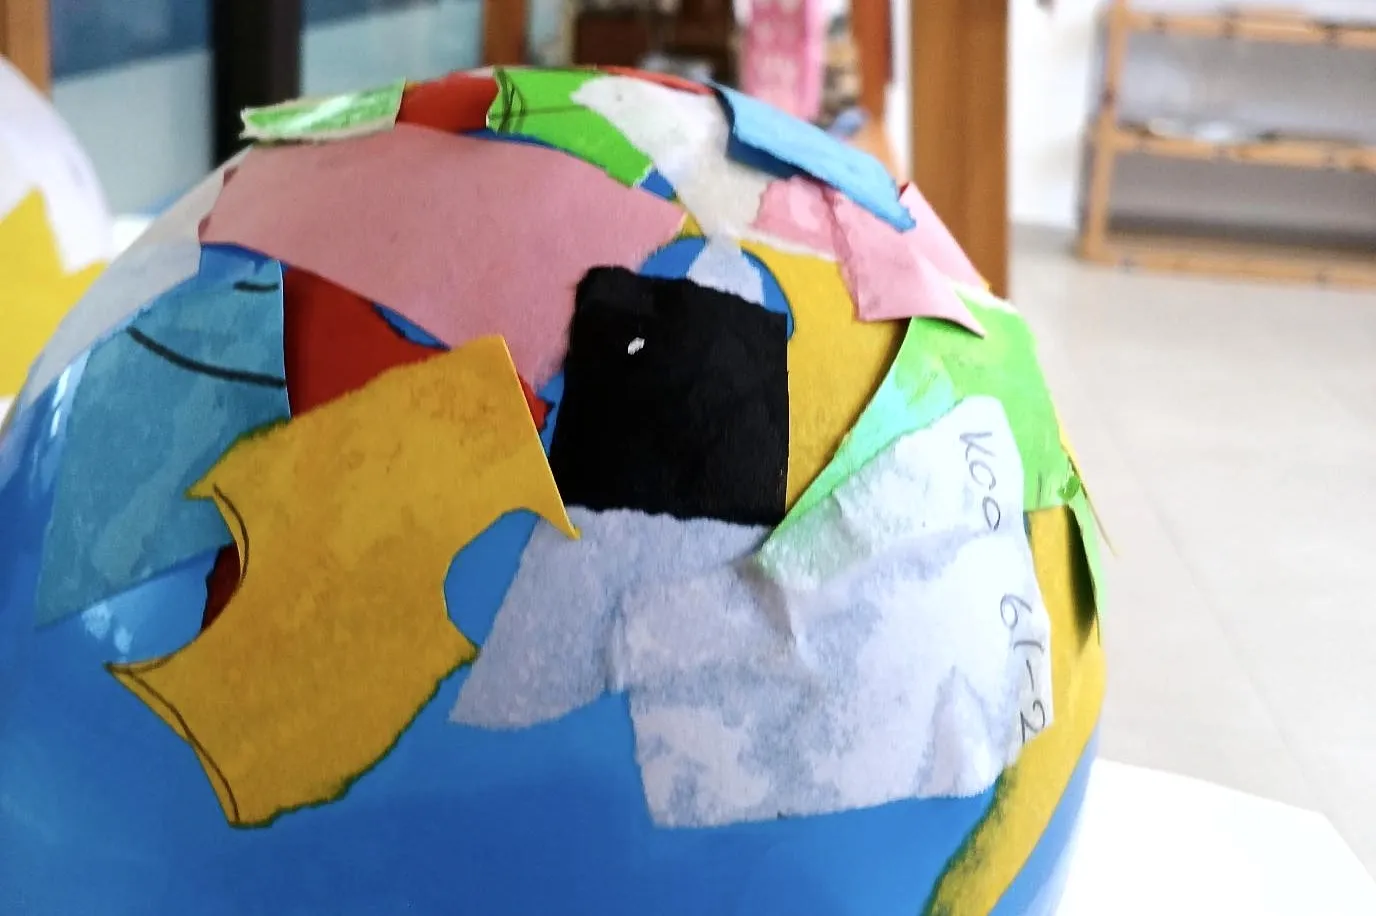
- Why it matters: Strips that stick up or bridge over hollows will dry into rough, jagged edges that ruin your texture and snag easily.
- Studio Goal: Smooth down every strip with your thumb so it lies completely flush against the armature and previous layers.
📋 Studio Self-Check: “Did I…”
- Make sure my armature is taped tight and sturdy?
- Saturate my paper strip completely and squeegee off the excess?
- Overlap half of the previous strip with every new piece?
- Reinforce all weak joints with extra crisscrossed strips?
- Smooth every edge down flush so there are zero air bubbles?
🏗️ Creating the Armature
Step 1: The Base Hoop
Your sculpture starts with a simple paper strip taped into a ring.
- The Flimsy Stage: At first, this single hoop will feel weak and floppy. That is completely normal!
- Tape Securing: Use masking tape to join the ends of a paper strip securely into a smooth circle or oval.
Step 2: Expanding Out and Up
Once your first loop is formed, you will expand the 3D frame by attaching additional paper loops or cardboard supports.
- Loop Addition: Tape secondary paper loops vertically or horizontally onto your primary hoop to form a ribcage, dome, or box frame.
- Structural Balance: Add cross-braces across high-stress joints to keep the shape from collapsing under wet paper.
⚠️ CRITICAL ARMATURE WARNING: Your armature is strictly an internal support system, NOT the final exterior surface of your sculpture! Do not cover your frame in huge sheets of dry paper or massive cardboard panels thinking it will save time. Big flat panels create flat, unnatural angles, warp when wet, and prevent the papier-mâché from forming a unified shell. Use your armature to define key points, then let smaller wet paper strips create the actual surface skin.
🐚 Building the Hard Shell
Paper is flat and resists stretching. If you try to wrap a large, wide strip over a rounded curve or bowl shape, it will wrinkle, fold, and create ugly air pockets. To form a smooth 3D curve, you must control your paper sizes and cuts.
Crucial Shell Techniques
- The Rule of Scale: Tear paper into small, manageable pieces. The sharper the curve or higher the detail on your sculpture, the smaller your paper strips must be.
- Fringe / Relief Cuts: For tight curves or spherical shapes, make partial tears or cuts along one edge of your paper strip (like a fringe). This lets the strip curve naturally by overlapping onto itself without wrinkling.
- Crisscross Layering: Alternate the direction of your strips with every layer (Layer 1 vertical, Layer 2 horizontal). This creates an unbreakable, interlocked fiber grid.
⚠️ Studio Execution Warnings
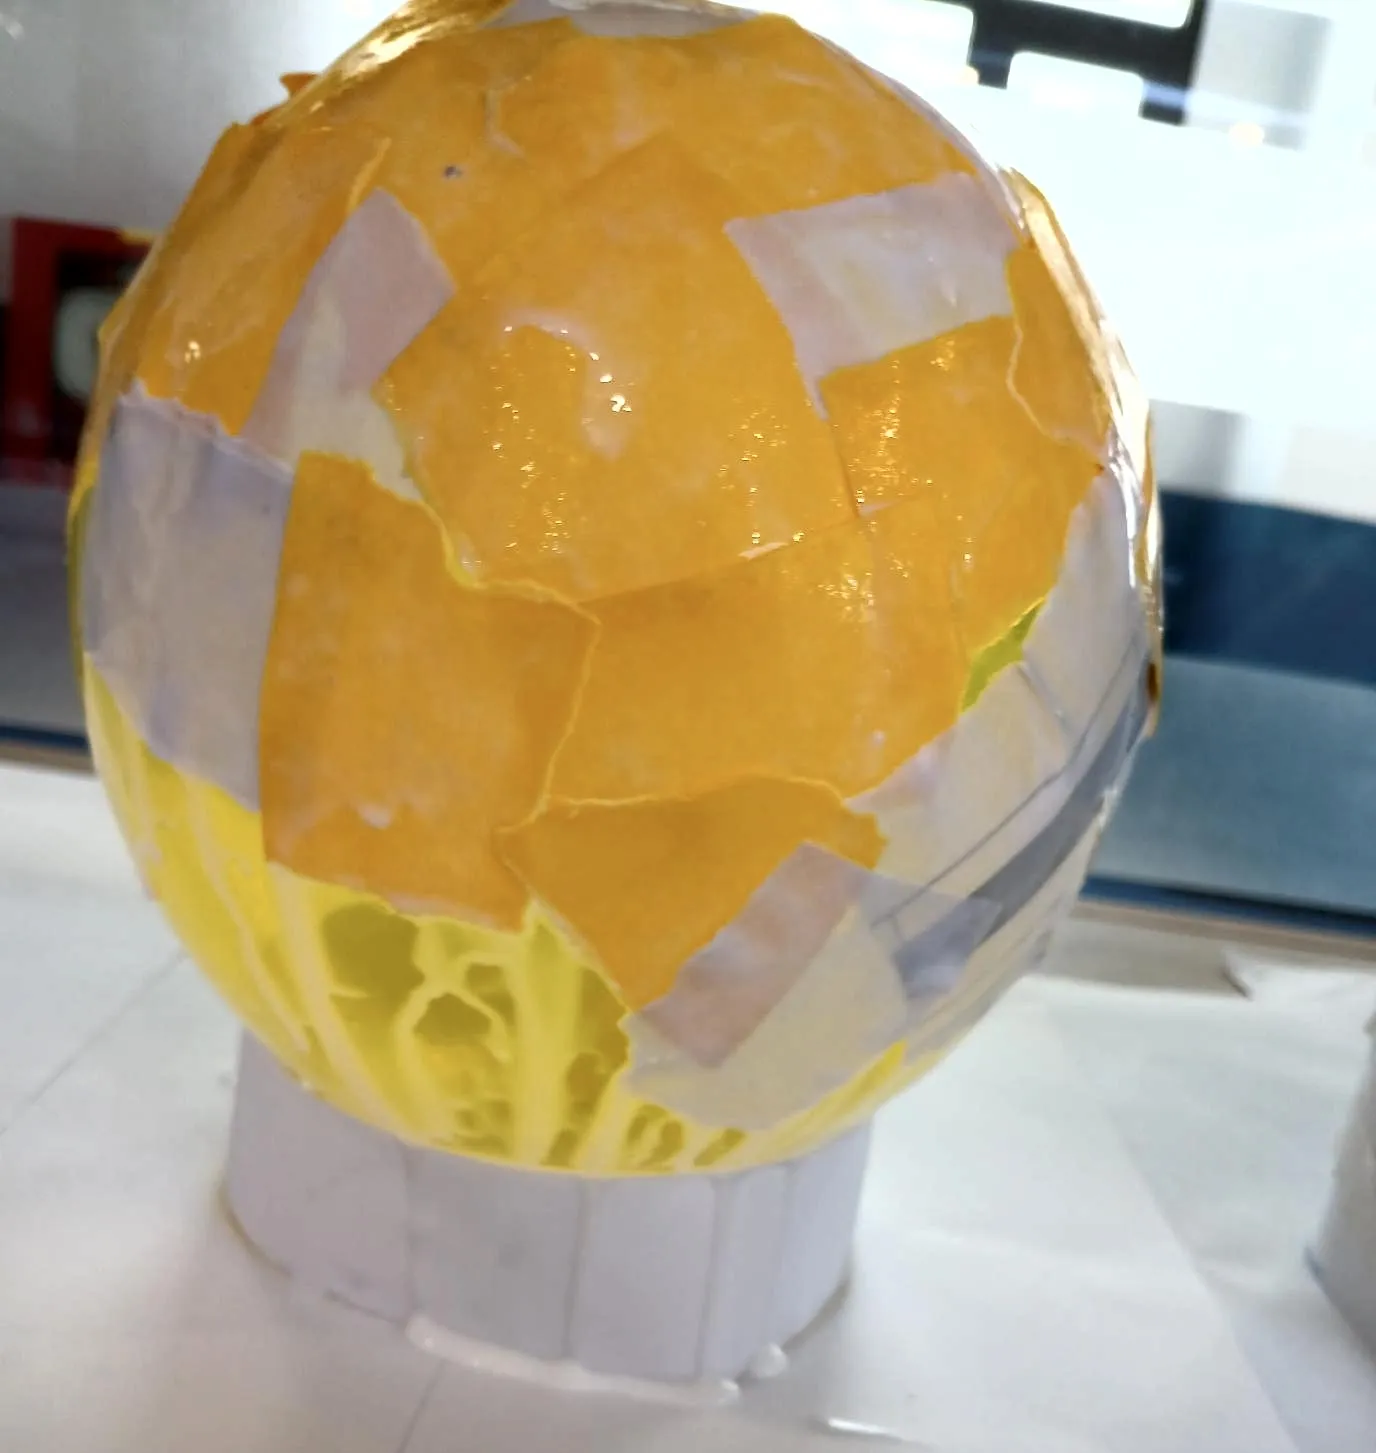
- 💧 Saturate Completely: Ensure your glue mixture penetrates deep into the paper fibers. Dry spots inside a strip lead to air bubbles and structural failure.
- ✌️ Squeegee the Excess: Always run wet strips between your index and middle fingers. Too much glue weighs down the armature, causes sagging, and dramatically slows drying time.
- ✋ Press Flush: Smooth down every single edge flat against the surface beneath it. Eliminating air gaps guarantees a rock-hard, professional finish.
🎨 Painting & Finishing the Shell
Once your papier-mâché shell has dried completely (it should feel cold-free, hard, and sound hollow when tapped), you are ready to apply your paint!
1. Plan & Mix Your Palette
Do not start painting randomly! Your color choices should be intentional and reflect your planning worksheet.
- Consult Your Worksheet: Review your identity motif and selected color rules (Hue, Value, Saturation) before opening any paint jars.
- Custom Color Mixing: Store-bought paint straight out of the jar can look flat or harsh. Mix your colors to create unique tints, shades, or muted tones that work harmoniously together.
- Pacing & Studio Time: Our class periods are short! Only mix the specific color you need for today’s target area. Most class periods will only allow enough time to paint one primary color or section accurately.
2. Workspace Setup & Paint Application
Protecting your artwork and your studio space ensures a clean, smooth finish.
- Table Protection First: Always lay down a protective paper cover or mat over your table before bringing paint to your station.
- Thin, Even Layers: Apply your paint in smooth, consistent coats. Avoid heavy clumps or impasto textures—thick paint takes forever to dry, cracks easily on paper shells, and ruins fine surface details.
- Multi-Coat Technique: If your paper or newsprint shows through the first layer, let it dry completely and apply a second thin coat rather than slathering on heavy paint.
3. Brush Care & Station Cleanup
Taking care of your tools keeps them usable for the entire unit and makes cleanup fast.
- Prevent Wet Paint Drying: Whenever your paintbrush is not actively touching your sculpture, keep the bristles submerged in your water bucket. Never leave a dirty brush dry on the desk!
- Control Water Levels: Before dipping a wet brush back into your mixed paint, blot and wipe out excess water on a paper towel so your paint doesn’t become runny or watery.
- End-of-Class Routine: Save the last 5 minutes of class to thoroughly wash your palette, rinse brushes until the water runs clear, and return all materials to their designated spots.
Feedback
Too much glue!
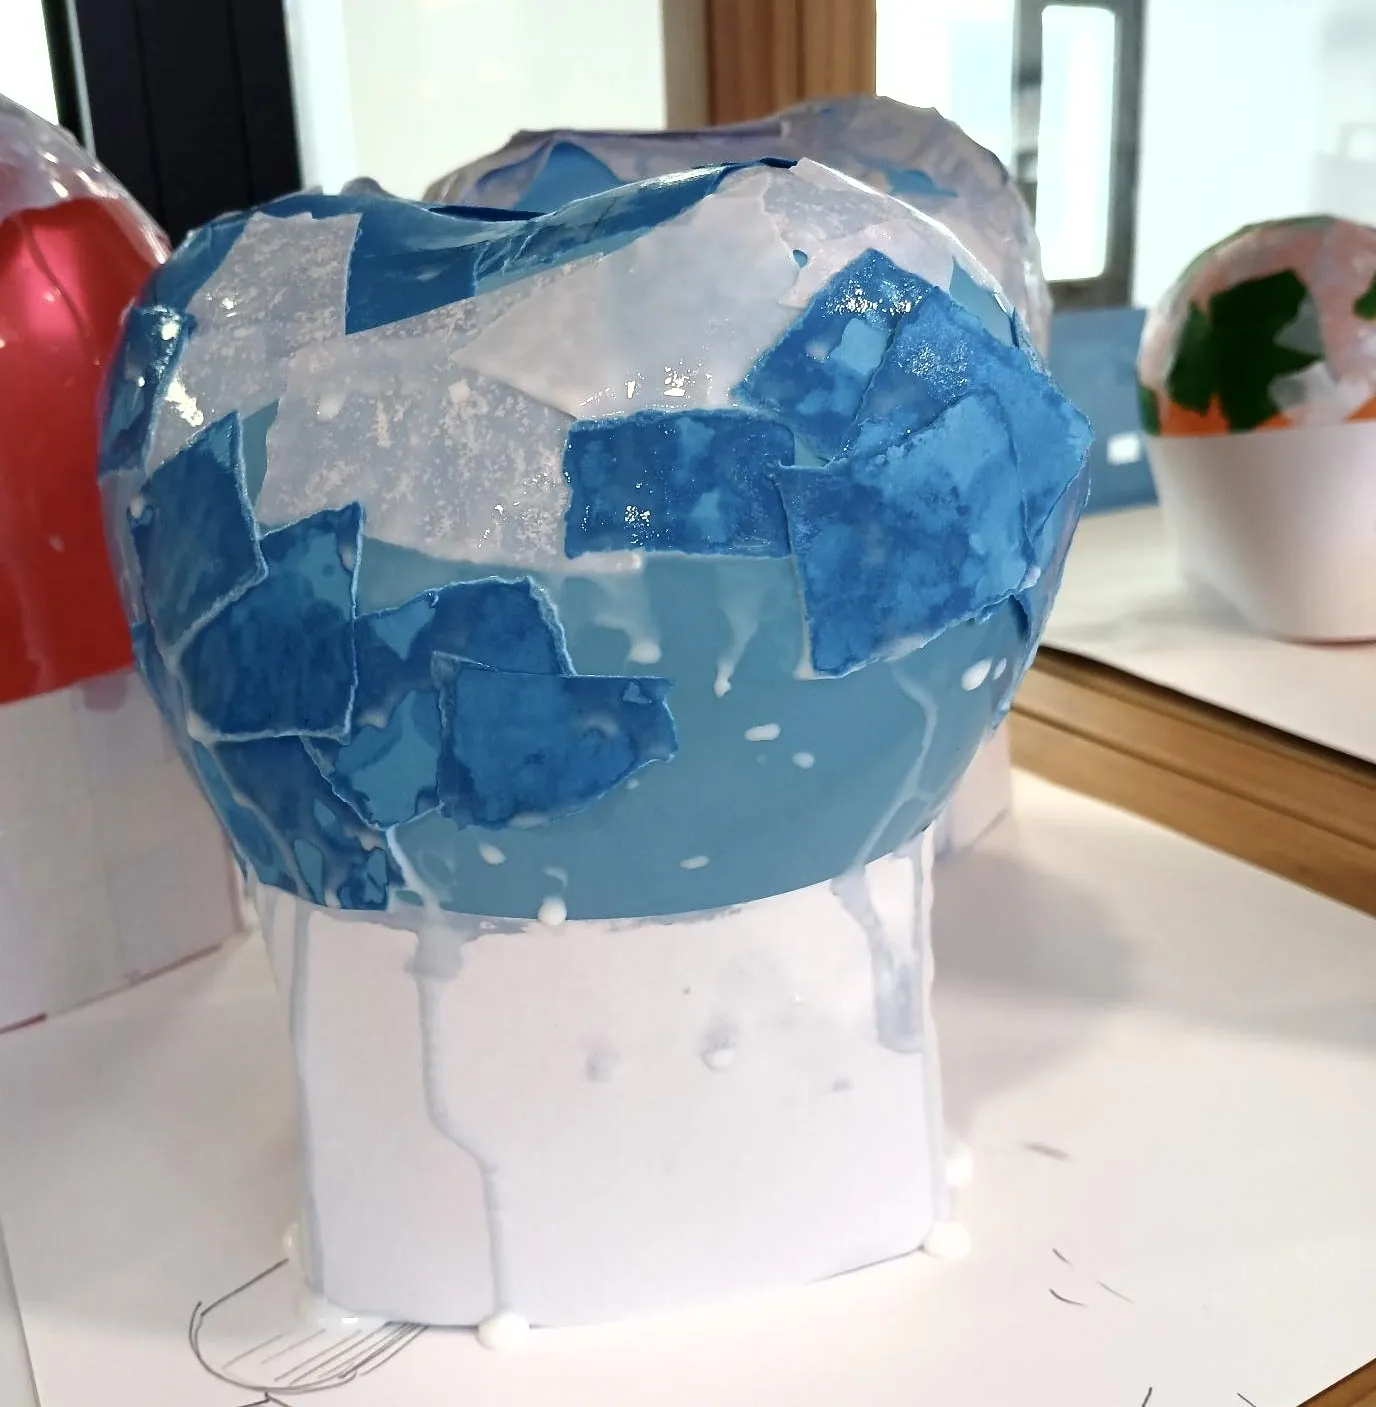
Paper strips are not flush!
🎭 Project Prompts
Choose one of the following studio projects to apply your papier-mâché skills, structural engineering, and pattern techniques.
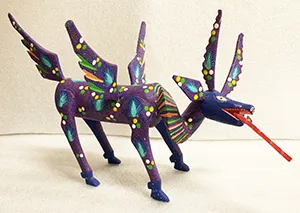
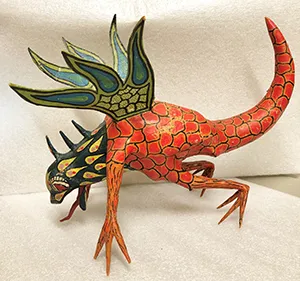
Prompt A: Mexican Alebrijes (Surreal Hybrid Creatures)
Background & Context
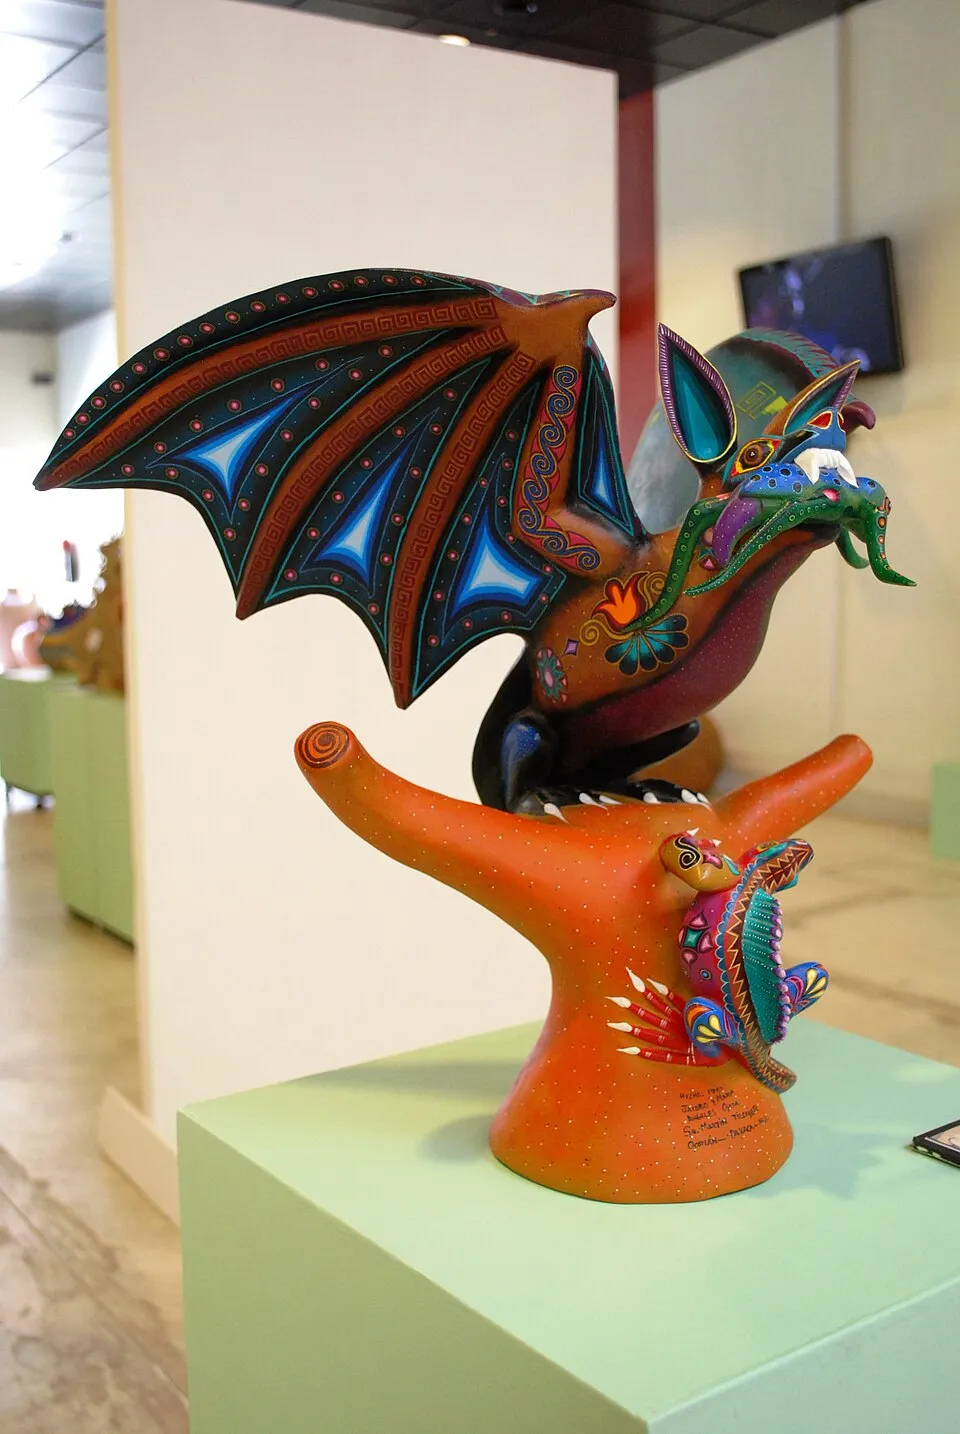
Invented in the 1930s by Mexico City artisan Pedro Linares during a fever dream—and later fused with the traditional woodcarving traditions of Oaxaca—Alebrijes are vibrant, mythical creatures that combine physical traits from multiple animals. Built using cartonería (cardboard frame and papier-mâché skin), these sculptures are famous worldwide for their gravity-defying forms and hyper-detailed, hand-painted pattern work.
Studio Challenge
Design and build a 3D papier-mâché Alebrije sculpture that seamlessly merges physical features from at least three different animals (e.g., the head of a hawk, body of a lizard, and wings of a dragon).
Design Requirements:
- 🦎 Hybrid Anatomy: Must clearly combine distinct anatomical traits from at least 3 creatures.
- 🏗️ Structural Cantilever: Must feature at least one extended element (horn, snout, tail, or wing) that extends outward past the core body without sagging.
- 🎨 Micro-Pattern Surface: Paint the outer shell using high-contrast color harmonies and layered micro-patterns (dots, chevrons, spirals, or scales) inspired by your Zentangle pattern exercises.
- 📐 Self-Standing: The final sculpture must balance independently on its base or contact points without tipping over.
Prompt B: Wearable Paper Armor
Background & Context
Over 2,000 years ago during the Han Dynasty, Chinese engineers discovered that layering and lacquering paper created lightweight armor capable of stopping arrows and absorbing impact far better than heavy iron plate. Throughout history—from Japanese samurai gear to European ceremonial helmets—paper armor combined functional protection with striking visual iconography.
Studio Challenge
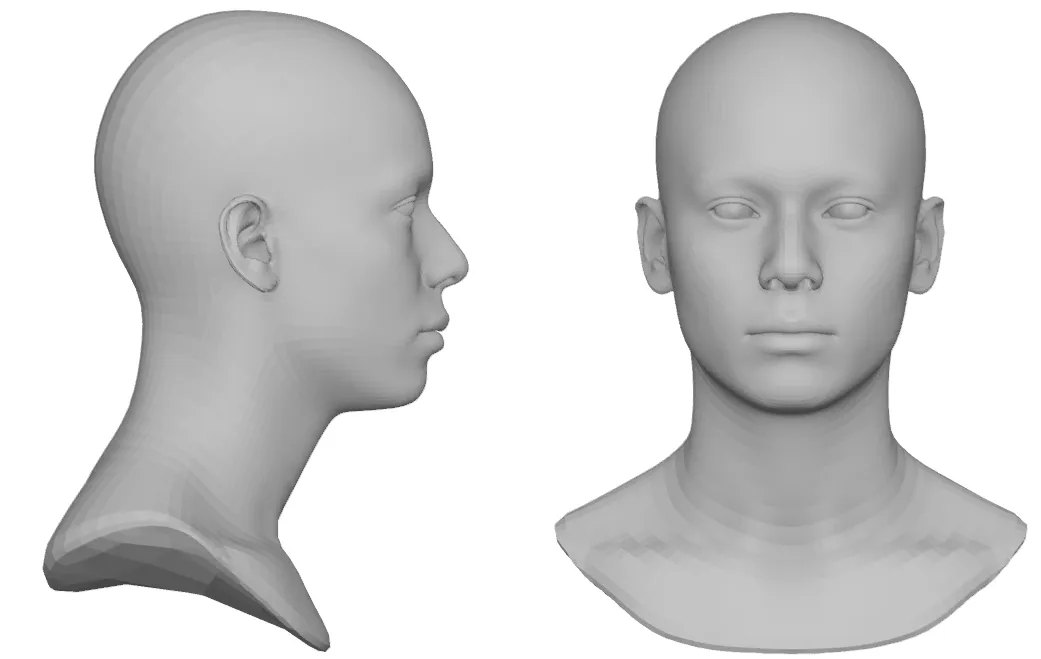
Construct a custom-fit, wearable paper armor headpiece, mask, or shoulder pauldron engineered to sit comfortably on the body while featuring regional, historical, or futuristic decorative motifs.
Design Requirements:
- 🪖 Custom Ergonomic Fit: The armature must be accurately measured to fit the student’s head, face, or shoulder frame securely.
- 🛡️ Functional Reinforcement: High-stress flex points, straps, and overlapping plates must receive 3–4 extra reinforced layers of crisscrossed paper to prevent tearing.
- 🐉 Iconography & Relief Detail: Incorporate raised 3D surface features (embossed trim, horns, visor crests, or regional symbols) onto the main shell.
- 🎨 Metallic / Weathered Finish: Apply custom paint techniques (dry-brushing, washes, or faux-metallic mixing) to make the dry paper shell look like forged bronze, polished steel, or ceremonial lacquerware.
Prompt C: Narrative & Patterned Greek Pottery
Background & Context
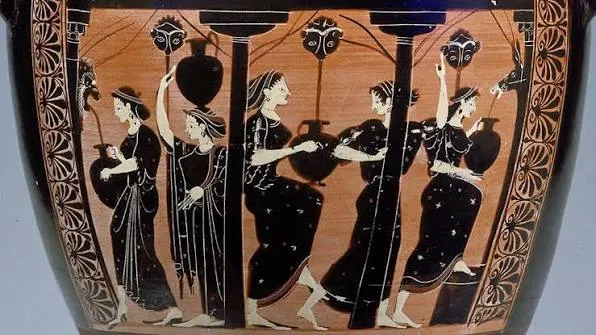
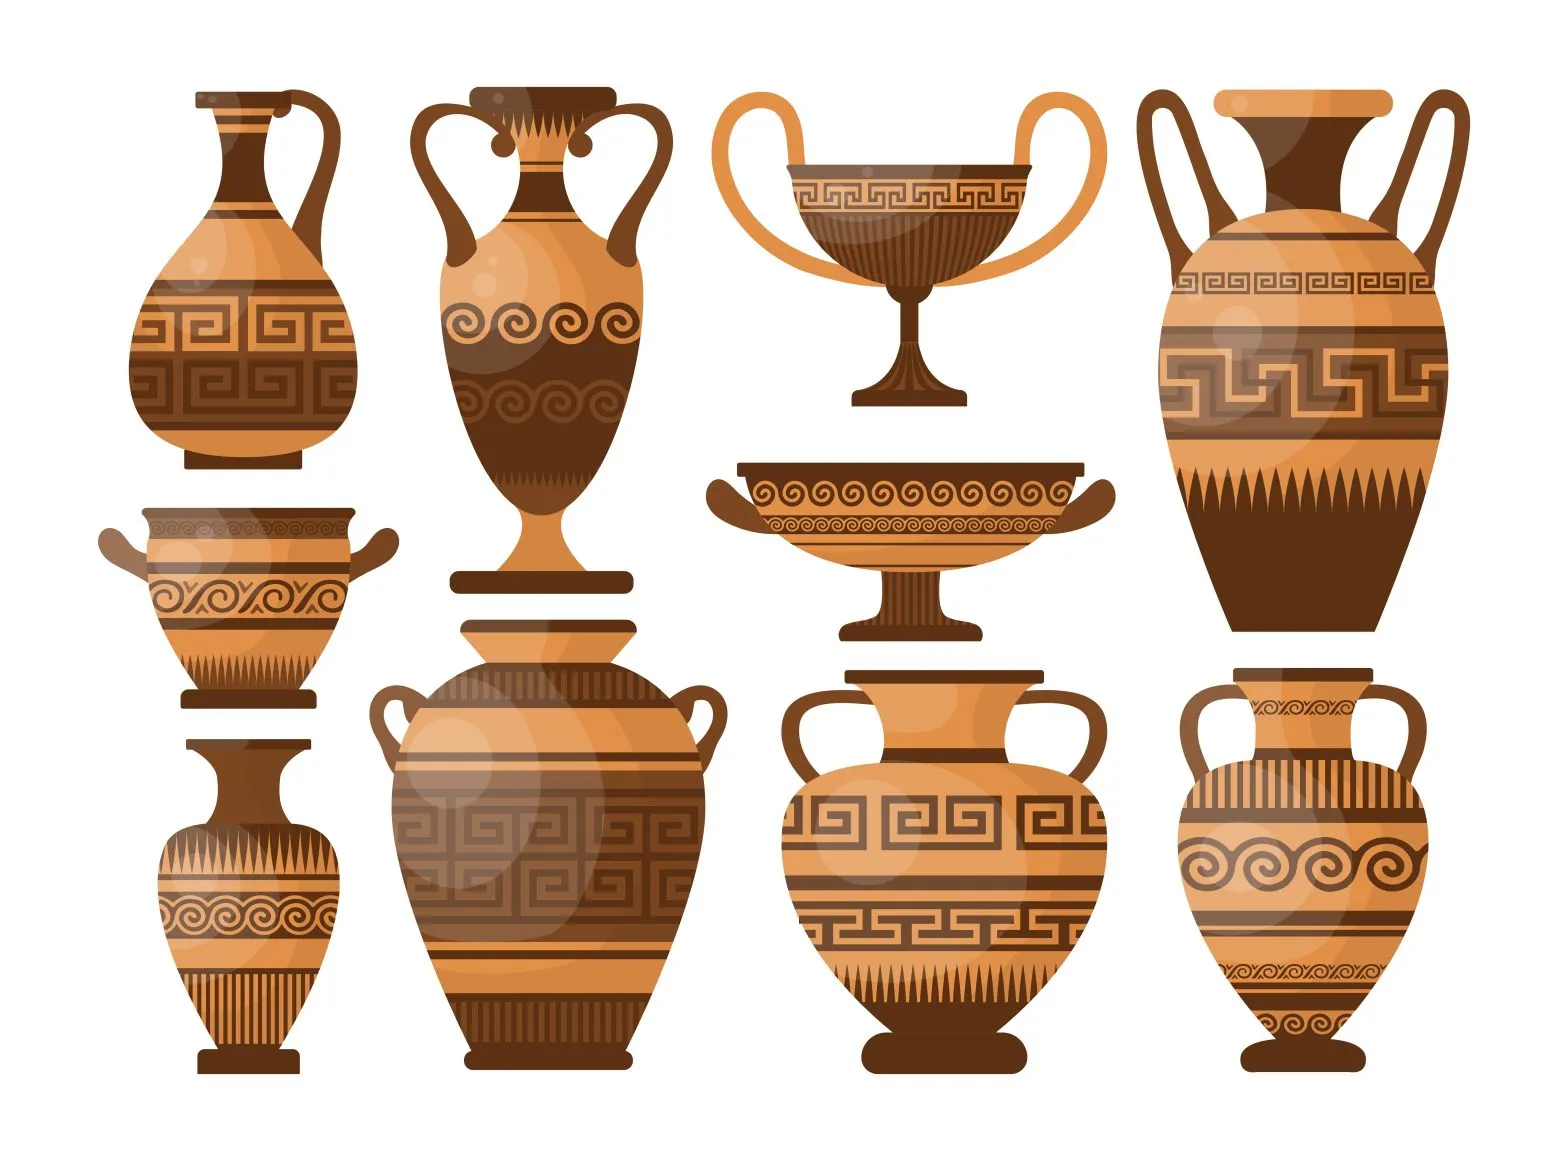
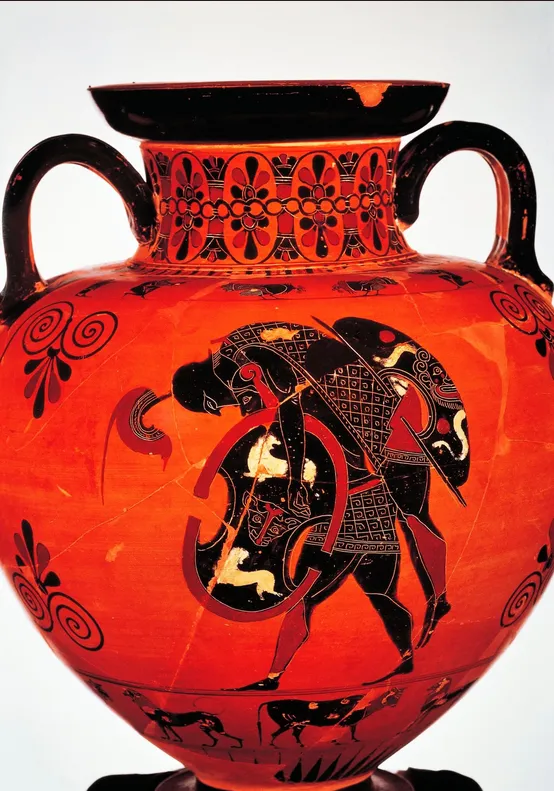
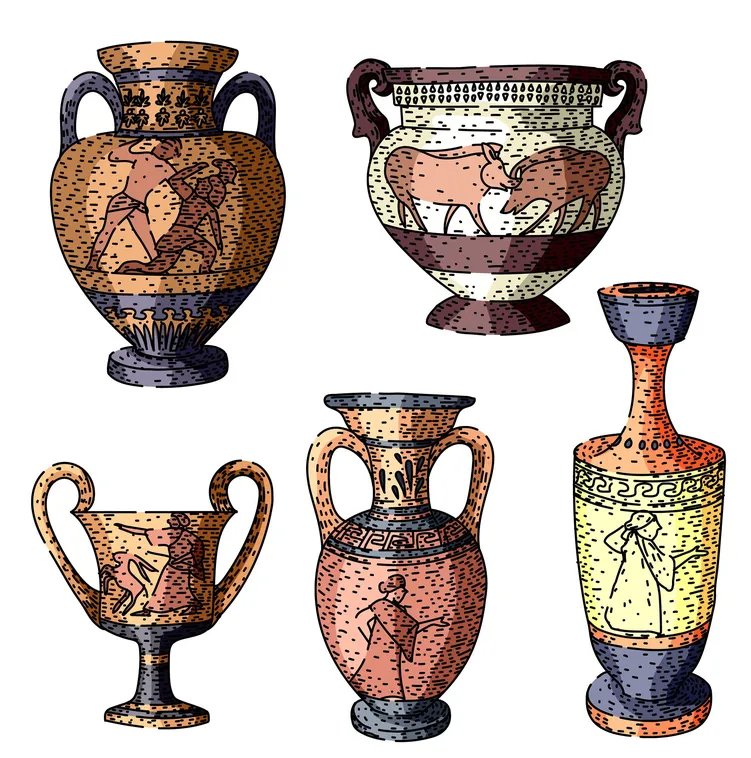
In ancient Greece, ceramic vessels like the Amphora (storage jar) and Kratēr (mixing bowl) served as both functional household objects and storytelling canvases. Master potters engineered perfectly balanced anatomical shapes—featuring a defined lip, neck, belly, foot, and handles—while painters decorated the surface using horizontal register bands. These vessels captured mythological legends, heroic battles, and daily life framed by geometric border patterns.
Studio Challenge
Construct a symmetrical Greek-inspired vessel using a balloon core for the belly and cardstock/cardboard extensions for the neck, foot, and handles. Then, decorate the surface with geometric pattern registers and a personal or mythological narrative scene.
Design Requirements:
- 🏺 Vessel Architecture: Your armature must include a balloon belly core plus engineered cardstock additions for a flared foot/base, a defined neck/rim, and two symmetrical handles.
- 📜 Visual Narrative Scene: The central section (“belly”) must portray a clear story or scene—such as a personal journey, a modern myth, or an athletic achievement—using silhouetted or layered figure painting.
- 📐 Horizontal Register Bands: Divide the neck and base into at least two horizontal border bands filled with repeating geometric motifs or Zentangle micro-patterns (e.g., Greek key/meander, lotus, or wave patterns).
- 🎨 High-Contrast Palette: Use a controlled color scheme (such as classical Black-Figure/Red-Figure terracotta and black, or a bold 2-to-3 color complementary palette) to keep the narrative and patterns crisp and legible.
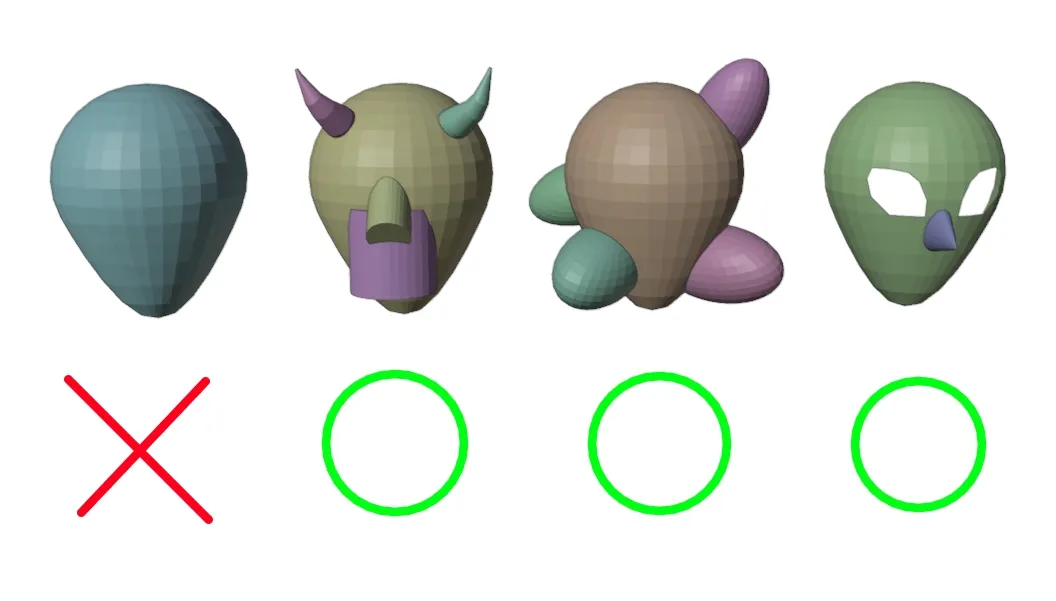
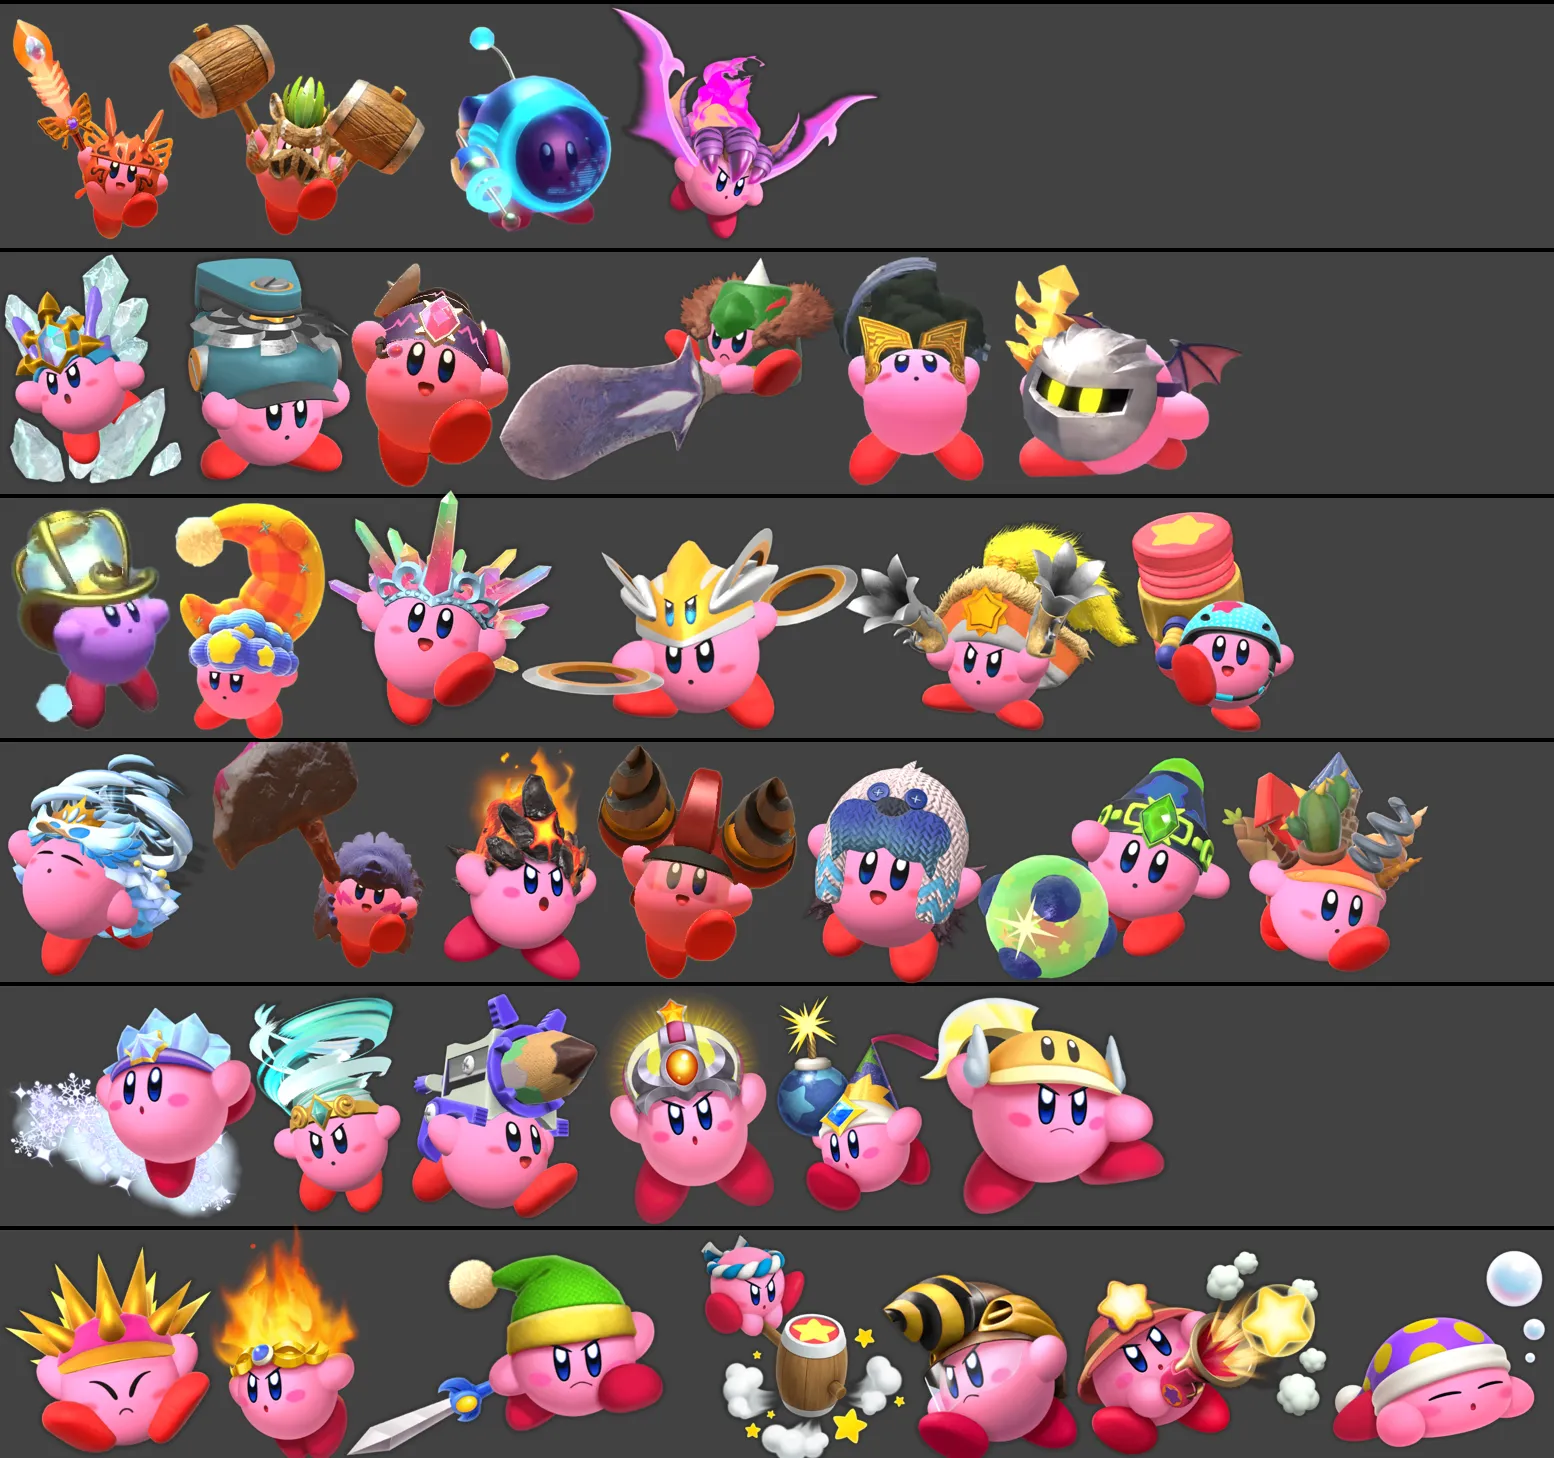
Prompt D: Copy-Ability Characters (Pop-Art Spherical Sculptures)
Background & Context
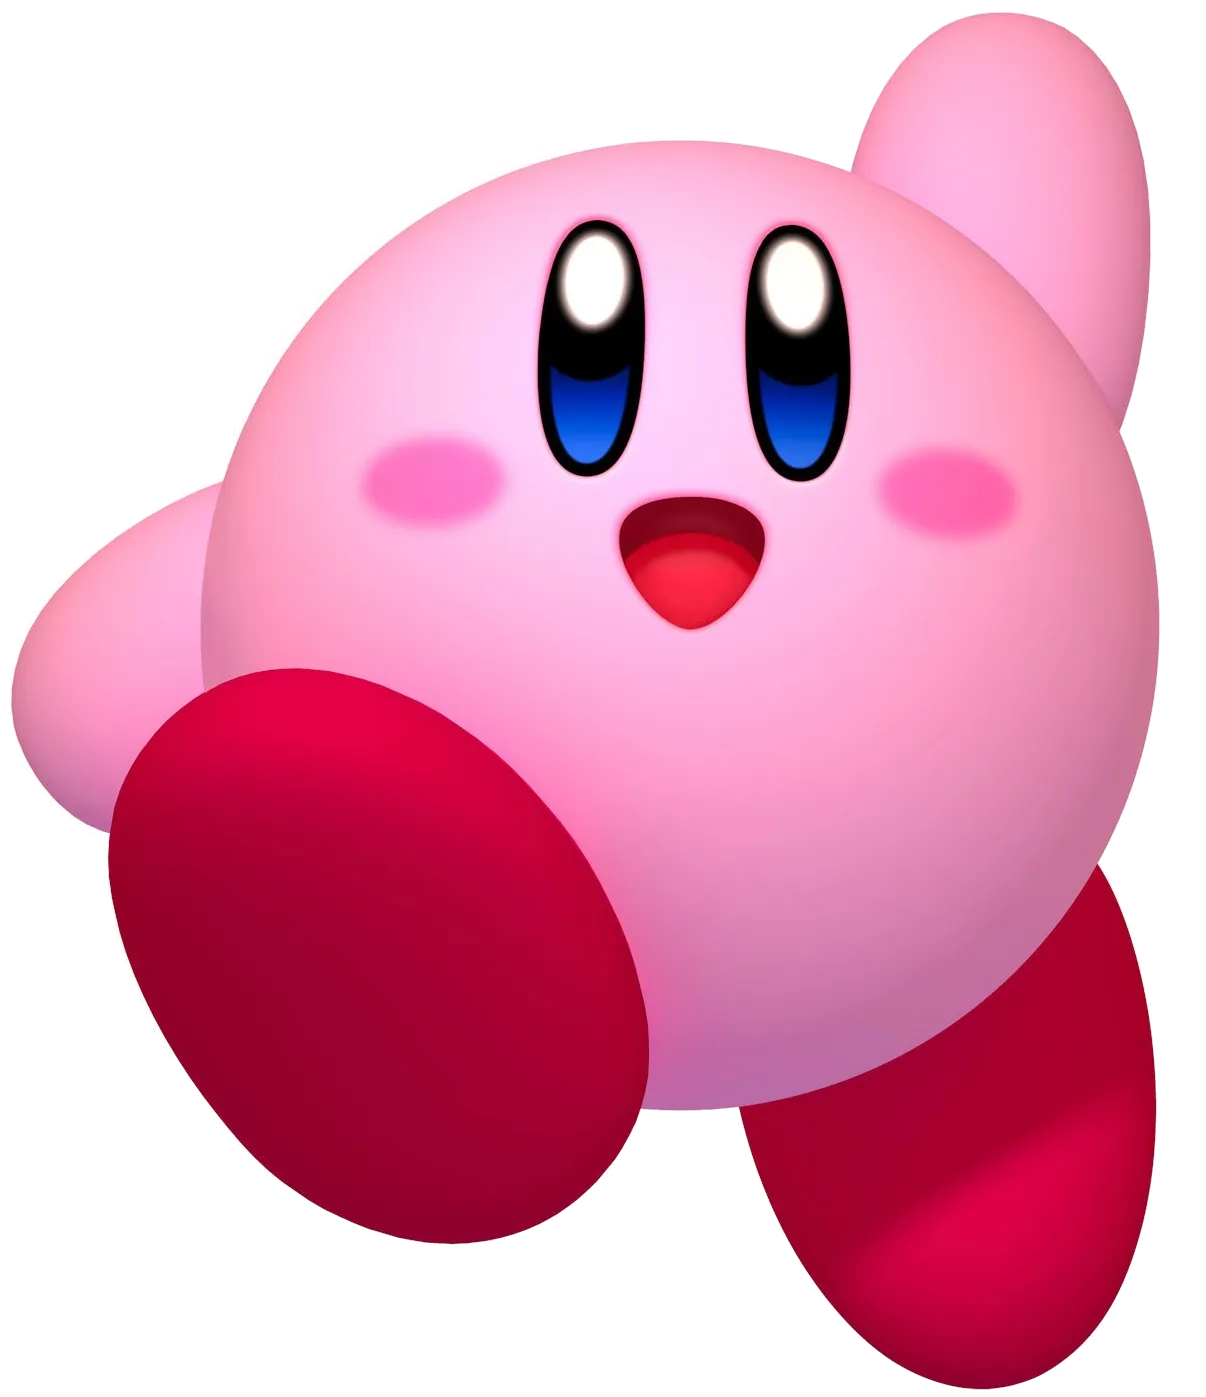
In modern pop art and character design—from artists like Takashi Murakami and KAWS to iconic gaming figures like Kirby—simple, friendly geometric forms serve as canvases for complex, imaginative identities. Through the concept of “Copy-Ability” (absorbing the physical traits, armor, or elements of another creature or object), a single smooth sphere can be transformed into an endless variety of surreal, powered-up characters.
Studio Challenge
Construct a 3D papier-mâché character sculpture using a spherical balloon core. Transform your base character by engineering custom structural attachments (hats, wings, horns, limbs, or props) to give it a unique absorbed power, identity, or hybrid form.
Design Requirements:
- 🎈 Spherical Core Body: Build a smooth, structurally sound main body using a balloon-based paper shell.
- 🛠️ Engineered Trait Additions: Design and attach at least 2 distinct structural features (e.g., helmet/hat, wings, tail, ears, or protruding props) using cardstock, cardboard, or rolled newspaper.
- 🎨 Patterned / High-Contrast Shell: Decorate the outer surface using bold color schemes and layered micro-patterns (dots, chevrons, spirals, or Zentangle designs) that reflect your character’s absorbed power.
- ⚖️ Stabilized Base: Engineer feet, a pedestal, or contact points so your character balances independently without rolling or tipping over.
Prompt E: Open Studio Structural Challenge (Free-Choice Vessel or Sculpture)
Background & Context
Modern sculptors often use simple core forms—like spheres, cylinders, and domes—as blank canvases for structural experimentation. By combining open subject choice with strict engineering non-negotiables, you have full creative freedom to build whatever you imagine (a surreal floating airship, a fantasy creature, an abstract organic bulb, or a pop-culture homage) while proving your technical craftsmanship.
Studio Challenge
Design and construct a 3D papier-mâché sculpture of your own choice using a balloon or rounded armature base. You have total freedom over the concept, provided your artwork successfully integrates structural extensions and a multi-patterned paint execution.
Design Requirements:
- 🎈 Primary Core Base: Construct a solid, smooth paper-mâché shell using a balloon or rounded paper armature as the central volume.
- 🦾 Appendages & Surface Extensions: Engineer at least one major structural extension or limb (e.g., handles, horns, wings, spouts, limbs, or relief ridges) attached securely to the core. It must extend outward without sagging or bending under the weight of wet paper.
- 🎨 Multi-Patterned Paint Zones: Paint the final dry shell using opaque acrylic paint. Your design must feature at least two distinct zones containing unique pattern designs (incorporating repeating geometric motifs, or high-contrast linework).
- ⚖️ Self-Standing Balance: Ensure the completed form balances securely on its base, pedestal, or contact points without rolling over.